
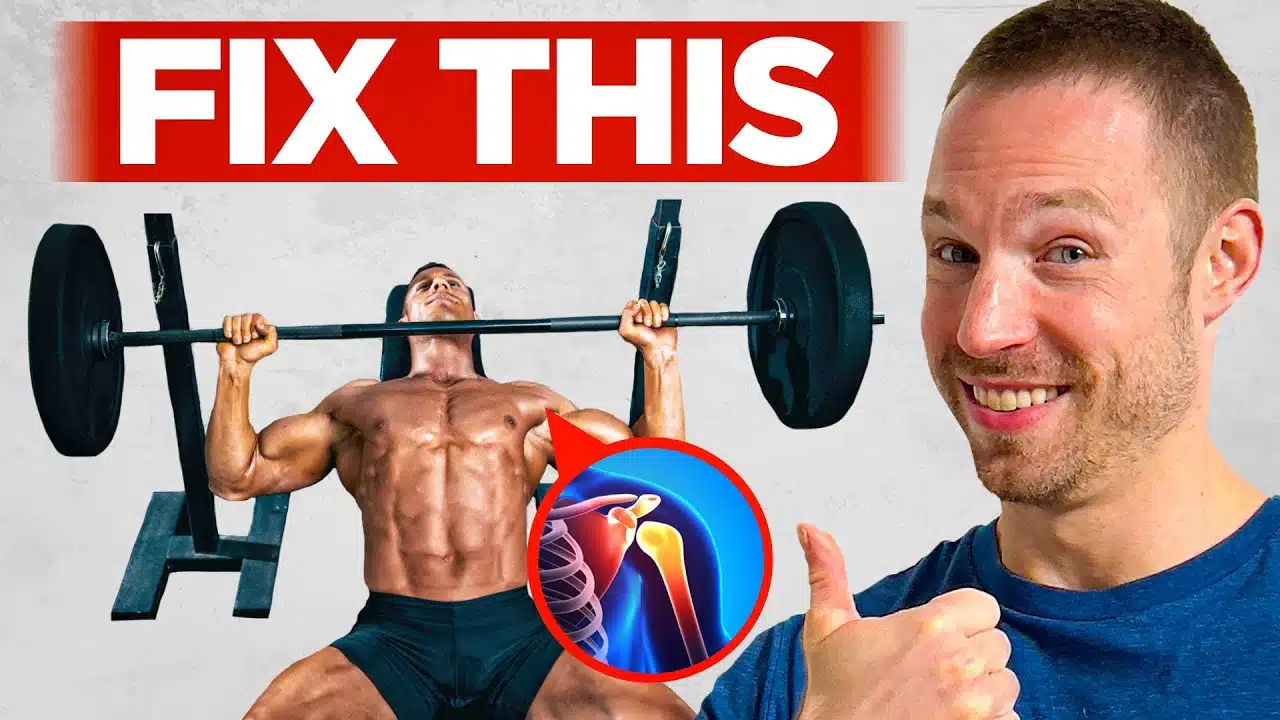
Shoulder pain during bench press doesn’t have to be a permanent training roadblock.
In a recent video, strength coach and content creator shared a comprehensive five-step process designed to eliminate nagging shoulder discomfort and restore pain-free pressing.
The approach combines targeted activation work, stability drills, and smart programming adjustments.
For lifters tired of compromising their bench press performance due to shoulder issues, this systematic protocol offers a clear path forward.
Jump to:
Step One: The Lock 3 Shoulder Routine
The foundation starts with extremely light weights—think one-pound dumbbells, bodyweight, or 2.5-pound change plates.
This drill, learned from Dr. Andrew Lock, targets posterior shoulder muscles that often become weak and imbalanced in press-dominant athletes. The coach explains the underlying issue clearly:
One of the main reasons many people develop shoulder pain in the first place when bench pressing is because we’re so dominant anterior with our pressing and the back side is not as balanced so we lead to a problem in shifting the shoulder joint and overloading the front side.
The routine consists of three positions, each performed for 15-20 reps:
Position One: Palms Up, Arms at Sides
Grip weights hard to activate rotator cuff muscles. Lift hands upward, then lower slowly with control.
Focus solely on hand movement without over-retracting shoulder blades. Bigger individuals may need a slight arm angle if bringing hands directly to hips causes discomfort.
Position Two: Palms Down, Arms at Sides
Same lifting pattern with reversed grip. This variation emphasizes rotator cuff engagement along with mid and low trap activation.
Position Three: T-Position
Arms extended laterally at shoulder height. Continue the lift-and-lower pattern, imagining eggshells beneath hands to encourage controlled descent.
This targets upper shoulder musculature. If upper traps become overactive, gently pull shoulder blades down and back.
Step Two: Foam Roller External Rotation
Positioning matters significantly for this drill. Place a foam roller to elevate the working elbow, mimicking bench press arm positioning.
Using a five-pound weight (or lighter for severe pain), perform external rotation with the shoulder blade locked in place—no cheating with rhomboid movement.
The coach emphasizes proper range of motion:
Only go to about that parallel position. If you go too far down a lot of people are going to start rolling that shoulder forward we don’t want that.
Perform 15-20 controlled reps with pauses at key positions. The foam roller elevation creates position-specific stability training that transfers directly to bench press mechanics where elbows tuck slightly rather than flaring wide.
Properly executed, this drill creates intense lateral shoulder activation.
Step Three: Banded Bench Press
Using a pre-made resistance band loop or double-looped Monster Band around wrists, this drill forces active joint stabilization.
Position hands as if starting a bench press, then actively tension the band by pulling outward—engaging lateral shoulder muscles throughout the movement.
Execute the pressing motion with a five-second eccentric (lowering) and five-second concentric (pressing) tempo. Visible arm shaking indicates proper stabilizer activation.
Target 6-10 reps depending on individual capacity. If pain occurs, increase band tension by pulling harder while continuing the movement.
The exercise should remain completely pain-free when executed with appropriate tension and control.
Step Four: Upside-Down Kettlebell Bench Press
This advanced stability challenge requires full-body integration. Begin with core engagement—press fingers into abdomen while bracing to create intra-abdominal pressure.
Connect core stability to upper back by actively pulling down into the bench, engaging lats and upper back musculature.
With everything locked in, press the inverted kettlebell while maintaining perfect bell stability. The kettlebell should not wobble if proper full-system stabilization is achieved.
The coach provides perspective on expected performance:
If you can bench press 225 pounds you should be able to do this with close to a 40 pound kettlebell. So if you’re struggling with a very lightweight but you can bench press over 225 you have some work to do.
This discrepancy reveals insufficient stability relative to strength—a common factor in shoulder pain development.
Step Five: Upper Back Engagement and Tempo Work
Elite bench pressers understand that pressing power originates substantially from proper back engagement.
With arms extended overhead in starting position, actively pull shoulder blades back and down—”into back pockets”—to engage lats and rhomboids maximally.
Slow Tempo Training Protocol
Incorporate controlled tempo work, especially during warm-ups:
- Five-second eccentric phase: Lower bar with complete control
- Three-second pause: Hold at chest level maintaining full tension
- Explosive concentric: Press with intent while maintaining back engagement
Slow tempo work exposes technical inefficiencies and develops ownership over every movement phase. Better technique means less energy leakage and reduced tissue overload that creates pain.
Programming the Protocol
Structure each bench session with this sequence during rehabilitation:
- Lock 3 Routine: One set of each position, 15-20 reps
- External Rotation Drills: 1-2 sets based on feel
- Banded Bench Press: 6-10 reps
- Upside-Down Kettlebell Press: Two sets of 5-10 reps
- Slow Tempo Bench: Light weight (potentially 30-40% of one-rep max initially)
The entire warm-up sequence requires 15-20 minutes. During rehabilitation, performance programming takes a backseat to corrective work.
As pain resolves, maintain 1-2 favorite exercises as permanent warm-up components. This addresses root causes and prevents recurrence rather than simply managing symptoms.
The Path Forward
Shoulder pain during bench press typically stems from muscular imbalances, inadequate stabilization, and poor positioning rather than structural damage requiring complete training cessation.
This five-step protocol systematically addresses each contributing factor—posterior chain activation, rotator cuff strengthening, dynamic stability, integrated bracing, and technical refinement.
Implementation requires patience and ego management. Reducing training loads temporarily while prioritizing rehabilitation creates sustainable long-term progress compared to pushing through pain.
Lifters should expect gradual improvement over weeks rather than immediate resolution. Consistency with the protocol matters more than intensity.
Even after pain resolution, maintaining select exercises as permanent warm-up staples ensures continued shoulder health and optimal pressing performance. The strongest benches are built on stable, balanced foundations—not just maximal pressing volume.