
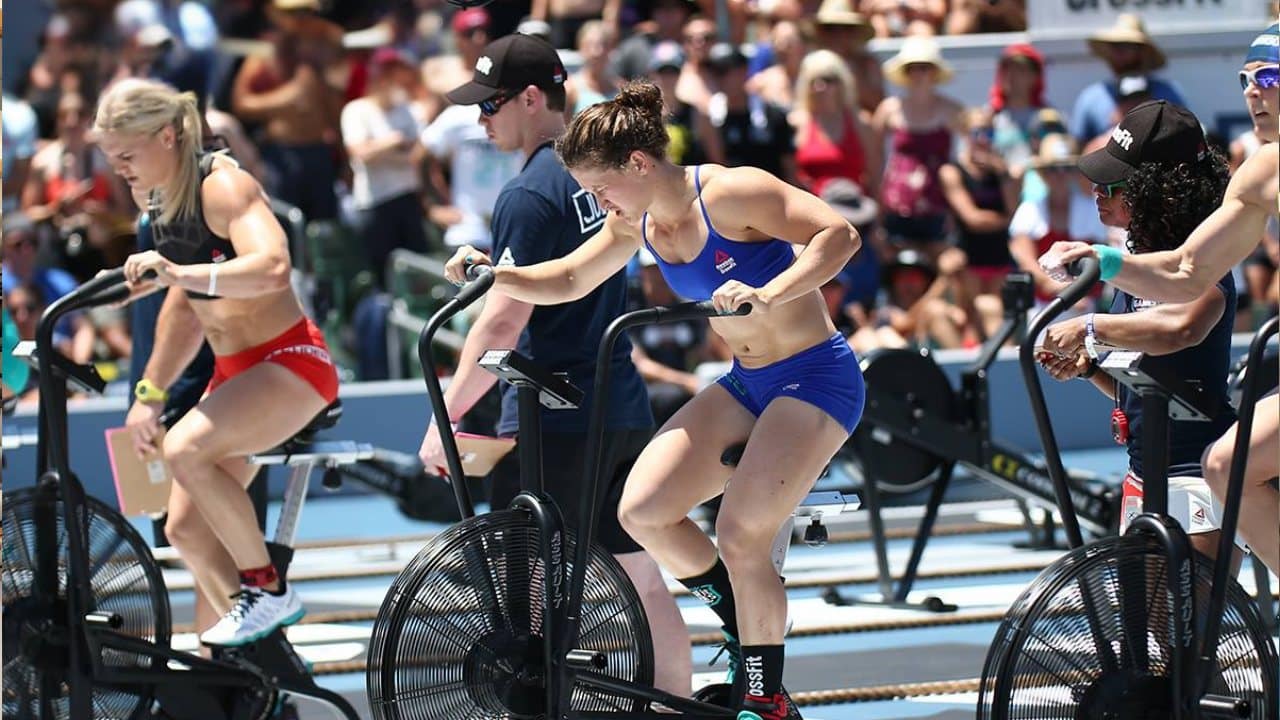
The Assault Bike has earned its reputation in fitness circles for good reason — it’s brutal. But if you’ve ever found yourself trailing behind in a group workout, stuck on the bike while others are already into burpees or barbell work, you know the frustration goes beyond physical pain. For smaller athletes or those with limited experience, the Assault Bike can feel like an unfair punishment. The good news? It’s not just about grit — it’s about strategy, setup, and smart mechanics.
Here’s how to unlock more wattage, improve your performance, and finally stop dreading those pre-WOD “buy-ins.”
Jump to:
The Key to Generating More Calories: Full-Body Efficiency
One of the biggest misconceptions about the Assault Bike is that it’s primarily a leg workout. Sure, your quads will burn, but top performers know it’s a full-body effort.
As mobility expert Kelly Starrett explained in a recent breakdown, the secret is shoulder integration. “If I can create a more connected shoulder to the body, I see improvement in head, lung position, and ventilation,” he said. On the Assault Bike, unstable shoulders mean poor force transmission — and poor force transmission means low wattage output.
Here’s what that means practically:
- Flared elbows are a red flag. They’re inefficient and often caused by poor bike fit or lack of awareness.
- Instead, bring the elbow pits forward and down slightly to create tension through the shoulder.
- Think of pressing through the handle as a bench press, not a wild punch. Your push should come from the chest, and your pull from the back.
- Adjust your grip. Many athletes find more power with a thumb-off grip and hands moved slightly outward to optimize pressing in the plane of scaption — a more natural movement path for the shoulder.
This subtle tweak creates a more stable upper body, which allows for efficient torque generation and keeps your posture strong, even as the clock ticks.
Bike Fit: Stop Fighting the Machine
The Assault Bike isn’t built for every body type. That’s no secret. A 5’2” athlete using the same machine as a 6’2” lifter? There’s no perfect universal setup — but there is a better one for you.
Seat Height Matters
Your seat should allow your leg to nearly extend at the bottom of the pedal stroke — with just a slight bend in the knee.
If your seat is too low, your quads are constantly under tension, leading to faster fatigue. A higher seat disengages the quads periodically, letting you last longer and generate more output over time.
Tall athletes typically ride at higher settings — like 8 or 9 — but even shorter riders benefit from raising the seat beyond what feels intuitive.
Seat Distance: Maximize Arm and Leg Drive
The seat should also be far enough forward so your arms can drive and pull the handles without leaning too far in. One common tip? Line your elbow up with your knee in the extended position — just a slight bend in both.
A slightly forward-leaning torso (10–20 degrees) will give you more power without collapsing your chest or restricting breathing.
Sprint Smart: Strategy Over Ego
A huge mistake athletes make is pacing the Assault Bike the same way they pace running or rowing. But the calorie algorithm on the Assault Bike is exponential, meaning a short, explosive sprint will yield disproportionately more calories than a long grind.
In fact, many seasoned CrossFitters sprint hard for 6–10 seconds, then settle into a more sustainable pace. Others break down their efforts into 10- or 15-second intervals of high intensity, followed by brief active recovery.
Learn Your RPM Ranges
Your RPMs — revolutions per minute — are a powerful tool. Track them.
- For short sprints (5–15 calories), aim for 80–100+ RPMs.
- For longer aerobic efforts, keep it between 45–60 RPMs, depending on your fitness.
Each athlete’s range will differ, but once you find yours, you can tailor your strategy more precisely — and improve week after week.
Fix Your Posture, Fix Your Output
Another big drain on performance? Poor posture.
Head down, shoulders hunched, arms flailing — it may feel like effort, but it’s leaking power from every joint.
Instead:
- Keep your head up to open your airway.
- Drive and pull through a neutral arm path — elbows in line with your body, not out to the sides.
- Avoid excessive swaying. Like running, unnecessary side-to-side movement wastes energy.
When you get it right, you’ll feel smoother. You’ll breathe easier. And yes, your wattage will climb.
Scale Smart, Not Shamefully
If you’re consistently 3–4 minutes behind the group, that’s a sign the workout stimulus is off for you. Scaling isn’t a sign of weakness — it’s a way to make sure you’re hitting the intended intensity.
That might mean:
- Reducing your calorie goal slightly during buy-ins
- Adjusting for body weight or height
- Substituting a different cardio modality (like rowing or SkiErg)
As one coach on Reddit bluntly put it: “You’re not achieving the stimulus if you’re still on the bike when everyone else is in round two.”
Tactical Training Tips to Build Assault Bike Capacity
Want to actually get better on the bike? Here’s how to train it without burning out:
- Bike sprints: 10 seconds all-out, 50 seconds rest x 6–8 rounds
- Calorie time trials: How fast can you hit 15 or 25 calories?
- EMOM format: Every minute on the minute, hit a target number of calories (start with 5–7)
- Assistance training: Strengthen shoulders, improve thoracic mobility, and train breathing mechanics for better endurance
The Final Takeaway
The Assault Bike isn’t supposed to feel good — but it should feel controlled. You don’t need to be the biggest or the strongest person in the gym to beat it. You just need to be smarter about how you use your body.
Dial in your bike fit. Connect your shoulders to your core. Use explosive power strategically. Learn your RPM zones. Scale with intention, not shame.
Master the machine — and maybe even start to enjoy your date with the devil’s tricycle.