
Knee pain doesn’t have to sideline your fitness goals.
Jeff Cavaliere, a physical therapist and strength coach at Athlean-X, recently shared a comprehensive approach to eliminating knee discomfort through targeted exercises.
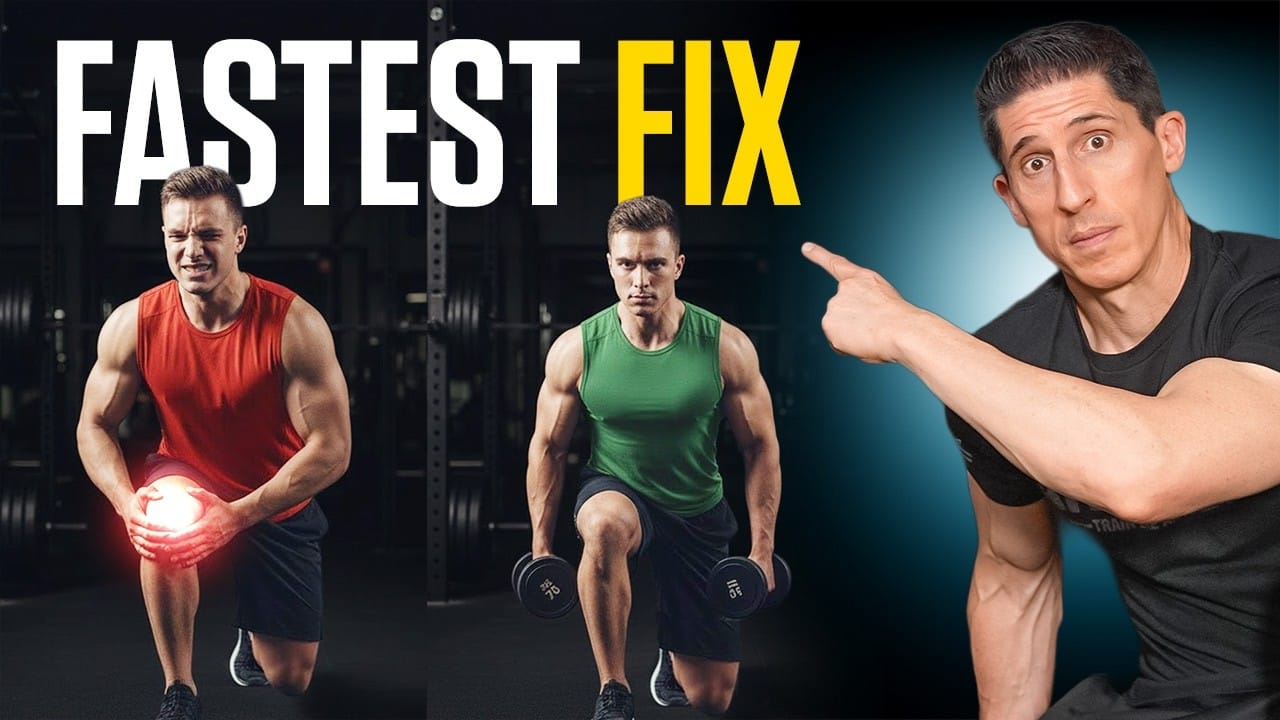
His method challenges conventional wisdom about which muscles actually need strengthening.
The techniques he demonstrates could transform how people address that stabbing pain when climbing stairs or that deep ache after getting out of bed.
Jump to:
- Why Traditional Knee Pain Exercises Miss the Mark
- The Real Culprits Behind Knee Pain
- Foundation Exercises for Foot and Ankle Strength
- Targeted Hip Strengthening for Knee Protection
- Building Leg Strength Without Aggravating Knees
- The Laser Pointer Technique for Knee Alignment
- Progressive Implementation Strategy
Why Traditional Knee Pain Exercises Miss the Mark
Most people suffering from knee pain receive advice to strengthen quads and hamstrings. Standard post-rehab exercises include quad sets—squeezing the thigh muscles while driving the knee into the floor—or isometric hamstring exercises.
Cavaliere argues these approaches focus on the wrong muscles entirely.
The knee itself is what we call a consequential joint. It’s literally stuck in the middle of the hip and then the ankle and even the midfoot or the foot itself.
This positioning makes knees vulnerable to mechanical issues occurring both above and below the joint. When problems develop at the foot or hip, knees absorb excessive stress without any ability to compensate.
The Real Culprits Behind Knee Pain
Foot Mechanics Create Cascading Problems
Issues like overpronation, chronic plantar fasciitis, or excessive supination alter knee positioning instantly. These foot abnormalities change forces inside or outside the joint, leading to gradual wear or acute tendon inflammation.
Ankle instability compounds these issues, especially during single-leg movements that occur with every step taken throughout the day.
Hip Weakness Transmits Destructive Forces
When standing on one leg, hip dropping signals significant weakness in stabilizing muscles. This common deficit—resulting from inadequate training in the frontal plane—sends damaging forces directly into knee joints.
If you have weakness in the hip, which most of us do because we’re not training ourselves in that plane, then the same thing applies. Now, you’re transmitting those forces down from the hip into that same knee causing those inside outside issues that are causing more of that instability.
Foundation Exercises for Foot and Ankle Strength
Cavaliere recommends performing these exercises barefoot three to four times weekly to restore proper mechanics from the ground up.
Single-Leg Balance With Alphabet Drawing
Standing on one leg while using the raised foot to trace alphabet letters in the air challenges intrinsic foot and ankle muscles. This deceptively simple drill creates burning sensations in stabilizing muscles that need strengthening most.
Complete one to two full alphabets per foot during each session.
Single-Leg RDL With Foot Clenching
This Romanian deadlift variation adds crucial foot activation:
- Stand on one leg while lifting the opposite knee
- Hinge forward at the waist as if retrieving something from the ground
- Keep the standing foot relaxed during the descent
- Clench the foot like making a fist while driving back to standing position
- Drive through the hip while pulling up through the foot
This cramping sensation indicates proper activation of biomechanically correct movement patterns that reduce knee stress.
Targeted Hip Strengthening for Knee Protection
The glute medius—a muscle on the outer hip—requires specific frontal plane training that traditional exercises don’t provide.
Hip Bump Exercise
Stand sideways against a wall or rack, with the outside leg bearing weight. Allow hips to drop lazily toward the wall, then contract the glute medius to drive them back to center.
The only muscle that’s going to really bring them back to center like this is that glute medius. So, what you’re trying to do is just allow yourself to drop out and then squeeze really well through that outside of the hip.
Perform 10 controlled contractions per leg for two to three sets, avoiding momentum-based swinging.
Hip Circle Progression
After mastering hip bumps, advance to circular movements that challenge the glute medius throughout different hip positions:
- Drop hip toward the wall
- Circle backward while maintaining single-leg balance
- Drive laterally across the body using glute medius
- Complete five clockwise and five counterclockwise rotations
Different circle directions create varying effects on muscle activation patterns in flexed versus extended hip positions.
Building Leg Strength Without Aggravating Knees
Stopping leg training because of knee pain creates a destructive cycle. These three exercises provide pain-free options for 95% of people with knee issues.
Box Squat to Surface
Squatting to a bench removes psychological barriers created by chronic pain. Knowing a surface will catch you eliminates hesitation that biomechanically interferes with proper squat mechanics.
Hold dumbbells or perform bodyweight variations while lowering to the box, then standing back up with control.
Drop Squat for Perfect Form
Holding a single dumbbell directly in front while lowering it straight toward the ground automatically corrects squat biomechanics. Gravity guides optimal knee flexion, hip flexion, and torso angle for individual body proportions.
Putting the dumbbell right here in front of you and simply lowering that dumbbell straight to the ground is going to fix how much knee flexion you need for your torso size, how much hip flexion you need for your torso size.
Progress by increasing dumbbell weight or adding a weighted vest.
Reverse Lunge With Ipsilateral Load
Backward lunging eliminates anterior knee stress common with forward variations while maintaining functional benefits. Hold a dumbbell on the same side as the stepping leg.
This loading pattern causes the body to want falling toward the weight, forcing the stabilizing hip to engage exactly like corrective exercises.
Key execution points:
- Step straight backward with control, not speed
- Prevent the front hip from shifting or bumping outward
- Return to standing by driving straight up without lateral hip movement
- Focus on precision over tempo
The Laser Pointer Technique for Knee Alignment
Cavaliere emphasizes proper tracking over the controversial “knee over toe” debate. Imagine a laser pointer attached to the kneecap during all lower body exercises.
That laser should point directly forward or slightly outside the foot—never inside the big toe. Inward knee collapse creates the destructive forces these exercises aim to eliminate.
I’m less concerned when people talk about knee over toe. I don’t really care about that. That’s actually more biomechanically correct. I don’t want to see knee inside toe, okay? Knee inside the big toe.
Controlling hip position automatically controls knee alignment, creating a reinforcing loop between proper mechanics at both joints.
Progressive Implementation Strategy
Start with foundational foot, ankle, and hip exercises performed three to four times weekly. These corrective movements establish proper mechanics before loading patterns with heavier resistance.
After two to three weeks of consistent corrective work, introduce the three strength-building exercises. Begin with lighter loads and pristine form, progressively increasing weight as movement quality remains excellent.
The worst approach involves avoiding movement entirely due to pain fears.
Remember, when it comes to knee pain, the only thing worse than the wrong movement is no movement.
This systematic approach addresses root causes rather than symptoms, creating lasting improvements in knee comfort and function. By strengthening often-neglected stabilizers in feet, ankles, and hips, excessive knee stress diminishes naturally while movement capacity expands.