If you’re looking to learn how to get the best out of a rowing machine with handles, then look no further!
Although today’s market is flooded with the typical one-handle indoor rower, one model that is rapidly gaining presence is the rowing machine with two handles.
By the end of this post, you will learn the different techniques to master a two-handle rower and add variety to your workouts.
Jump to:
Traditional Rower VS. Rower With Two Handles
The traditional rower, commonly known as “indoor rower,” was first introduced to the fitness market in the ’80s.
It became a massive success due to its affordability, practicality, and ease of use.
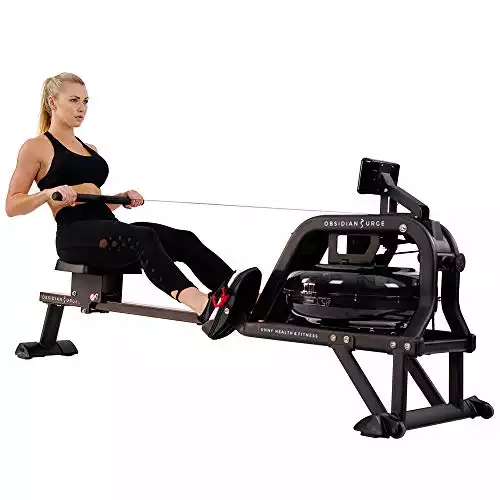
Based on our testing, this is the best rower for beginners. For less than 500$, this silent water rower will last you for years. It also comes with a 12-year warranty.
- Affordable
- Quiet
- Amazing warranty
There’s a lot you can do with a traditional rower, but having the option of single-arm rowing and curved-motion rowing are not included.
A rower with two handles has all the functionalities and capabilities of a traditional rower while also enabling single-arm workouts, increasing training variability.
This model resembles more closely those used by Olympians in their rowing sport.
The two-handle modality allows for various rowing techniques, such as:
- Linear.
- Curved.
- Unilateral.
Each of them has its unique benefits and provide more muscle activation than the traditional rower.
Linear Motion Technique
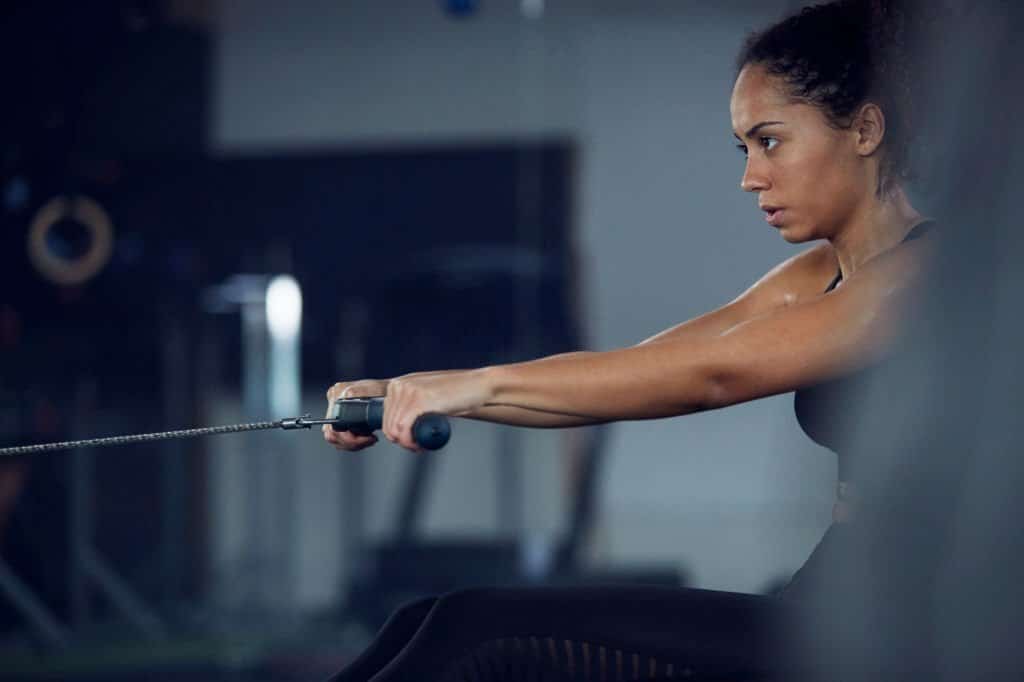
A linear motion technique could also be called a “neutral stride.” In this technique, the arm’s path stays horizontal throughout the stroke.
Starting position
Begins by holding the handles of the erg evenly with both hands, with the seat all the way forward so the knees are into the chest and the arms remain stretched out in front.
The Drive
To begin the drive, press firmly against the foot holders until your legs are close to full extension.
The torso should then swing back to a 90-degree angle with the seat.
Let the arms follow their natural line of movement as you slowly pull them toward the base of the sternum.
The Finish
Both arms are pulled into the base of the sternum with the legs fully extended.
Your torso should be leaning back slightly beyond 90 degrees.
The Recovery
This is the opposite of the drive.
Extend the arms, lean forward from the hips, and bend your legs.
A full stroke should include these four phases, with slight variation throughout the rowing machines.
The more you practice each phase separately, the more efficient your technique becomes, thus getting more benefits out of your rowing workouts.
Curved Motion Technique
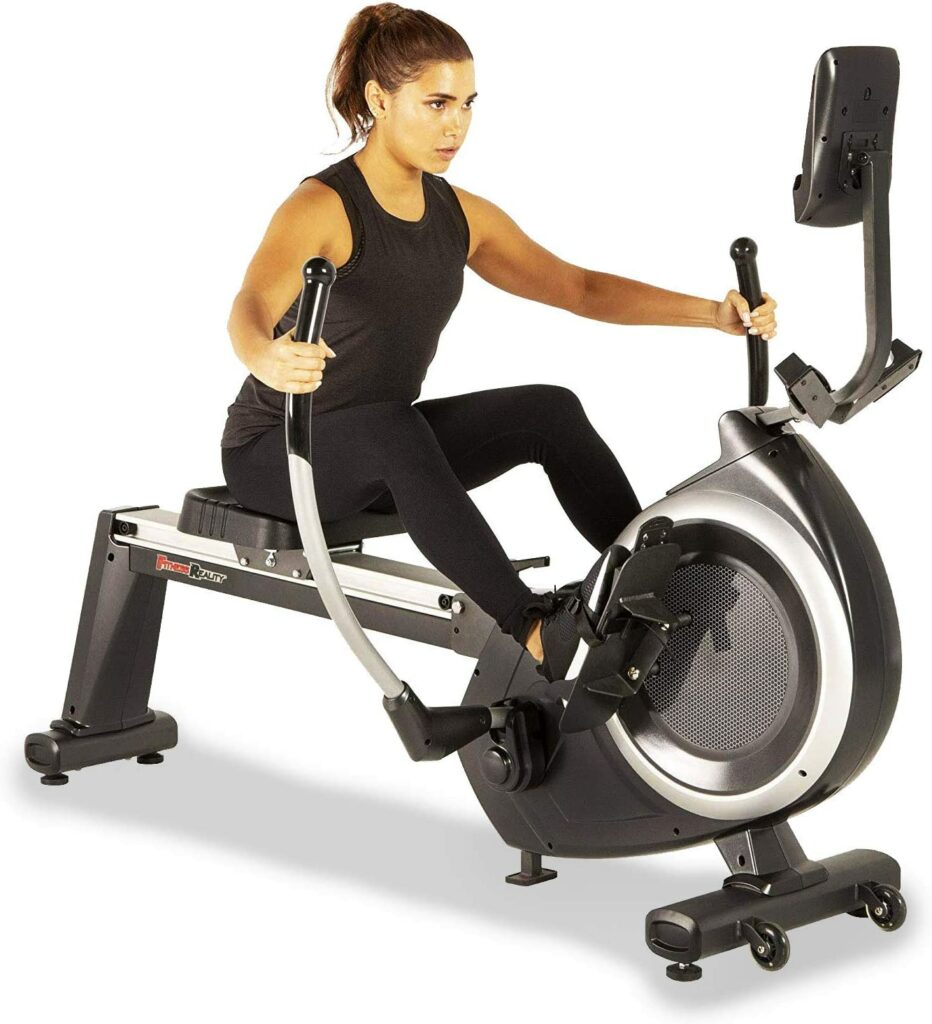
The curved motion is one of the signature techniques of the two-handle rowers.
Depending on the model, some handles will have a full range of motion, providing the option of a curved stroke.
The Initial Position
The initial position will stay the same as the linear motion technique.
The Drive
This is one of the main differences from the linear motion technique.
Based on our testing, this is the best rower for beginners. For less than 500$, this silent water rower will last you for years. It also comes with a 12-year warranty.
- Affordable
- Quiet
- Amazing warranty
After the legs are fully extended and the torso is leaning back around 90 degrees, the arms will pull away from the midline and reach back until the shoulder blades are close to each other.
The Finish
The elbows should flare out with the legs fully extended, and the torso should slightly lean back beyond 90 degrees.
The Recovery
During the recovery, the arms will return to their original position while the legs begin to flex, and the torso follows the same way as the linear motion technique.
Single-Arm Motion Technique
The Initial Position
The initial position is practically the same as the previous techniques, with the difference that you will now be holding one handle instead of two.
The Drive
The drive remains the same as the linear motion technique for the most part.
During this phase, the single arm should follow its natural line of movement as you slowly pull it toward the base of the sternum.
The Finish
In the finish portion, the arm is pulled into the base of the sternum with the legs fully extended.
Your torso should be leaning back slightly beyond 90 degrees.
The Recovery
The recovery will go the same as the linear motion technique.
Workouts
You can do various workouts with a rowing machine with two handles, from long steady sessions to any interval.
Some examples of long steady pieces can be:
- 4 x 4 minutes, with 2-4 minutes of rest
- 3 x 1500 meters, with 3-5 minutes of rest
- 2 x 2000 meters, with 4-6 minutes of rest
The linear motion technique for these long sessions is more efficient and energy-preserving.
In the case of intervals, you can include curved and unilateral motions. Here are a few examples:
- 1 minute hard with a curved motion/1 minute easy with a linear motion (4 minutes total)
- 30 seconds with one arm/30 seconds with the other (repeat for 4 minutes)
- 8 x (:20 hard/:10 easy). Also known as Tabata intervals.
All of these variations can be modified to meet your current fitness levels, and you can always mix it up with bodyweight movements such as air squats, push-ups, and running.
For example:
- 3 rounds of: 500 meters, 20 air squats, and 15 push-ups with 2-3 minutes of rest.
- 10 minutes AMRAP: 400 meters, 50 jumping jacks, 25 air squats, 15 push-ups.
All of these movements and workouts are highly scalable, so don’t hesitate to scale down or up depending on your fitness level!

