The kettlebell press is a staple in CrossFit! It’s the KB equivalent to the dumbbell shoulder press or military press, and it’s one of the single most effective exercises for growing a powerful and sleek set of shoulders.
But like with all kettlebell exercises, there’s some room for injury if you don’t do it correctly. Bookmark this guide to the kettlebell press so you have all the info you need at your fingertips! Let’s get into it.
Jump to:
- Muscles Involved in the Kettlebell Press
- Should You Use Kettlebells Instead of Dumbbells?
- Benefits of the Kettlebell Press
- Who Shouldn’t Do a Kettlebell Press?
- How to Do a Kettlebell Press: Step By Step
- Kettlebell Press Variations
- What Weight Should You Use for a Kettlebell Press?
- Mistakes to Avoid When Doing a Kettlebell Press
Muscles Involved in the Kettlebell Press
One of the best things about the kettlebell press is that it works a large range of muscles. It may be targeting your shoulder muscles more specifically, but you’ll get plenty of benefit throughout the body if you do the kettlebell press on a regular basis. Variations can get different muscle activation, so your options are vast when it comes to this exercise!
Here’s a quick list of the muscles involved in the kettlebell shoulder press. It might be a shoulder exercise first and foremost, but it works plenty more than just that.
- Rear and front deltoids: The main muscles worked in this movement, and the ones that will really make your shoulders pop!
- Rotator cuff: Excellent strengthening exercise for the group of muscles and tendons responsible for the rotation movement of the shoulder.
- Upper chest muscles: The pressing movement also activates the upper pectoral muscles, so you’ll feel it in your chest too.
- Lat muscles: The lats also perform a supporting role in this exercise, you’ll feel them engage more in the downward position.
- Trapezius: While the delts are the main muscle worked here, this exercise also hits the traps, helping you build a more impressive set of shoulders.
- Forearms: Wrist flexors and extensors are worked.
- Serratus anterior: The lesser known “boxer’s muscle”, located on the side ribs under your arms and extending underneath the scapula.
- Core muscles: As always, the core is necessary for stabilization. The KB press is great for building core strength too, as the demand for stability is high.
- Glutes: Like the core, the glutes are a stabilizing muscle in this movement. Get the best workout in the standing KB press!
- Hamstrings: More prominent in the seated press.
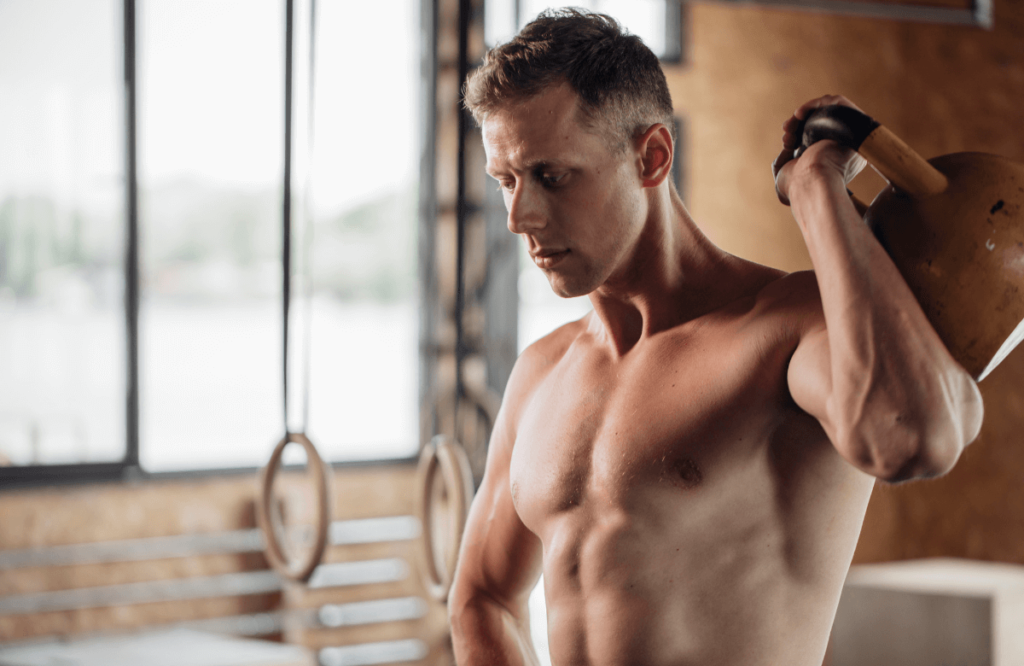
Should You Use Kettlebells Instead of Dumbbells?
If you specifically want to use something that keeps both arms free and separate—ie. not a barbell—then your two choices are dumbbells or kettlebells. So why choose kettlebells instead of dumbbells… Or does it even matter?
The truth is, the dumbbells and kettlebells are pretty interchangeable. That being said, there are some exercises that are easier to do with dumbbells, because of the way the weight is distributed in a kettlebell; for example, a dumbbell curl. On the other hand, things like goblet squats are much easier with a kettlebell, thanks to their more ergonomic design.
When it comes to the kettlebell press, the weight distribution of the kettlebell forces you to stabilize yourself as you’re pressing, essentially giving you more bang for your buck out of the exercise!
And then there’s the fact that the weight distribution of a kettlebell makes it easier to keep your wrist neutral, which is a big plus and can help you to press more weight.
Benefits of the Kettlebell Press
The kettlebell press might seem like a simple movement, but it offers a lot of benefits. Here’s why you should be doing it.
High Level of Core Activation
Talking about stabilizing yourself, we all know that this means activating the core muscles to protect the spine and maintain your posture. More core activation equals more energy expended and better posture throughout the movement.
More Natural Range of Movement
With the kettlebell press, your hand stays roughly in the same plane, meaning it moves up and down like a corkscrew rather than coming down a little to the side, like it does in a dumbbell press. This is a more natural range of motion and reduces the potential for injury.
Injury-Friendly
It’s easier to keep your wrist in a neutral position with a kettlebell during the overhead press, as opposed to a barbell or a dumbbell. Those who struggle with their wrists will definitely prefer this way of pressing!
Multiple Variations
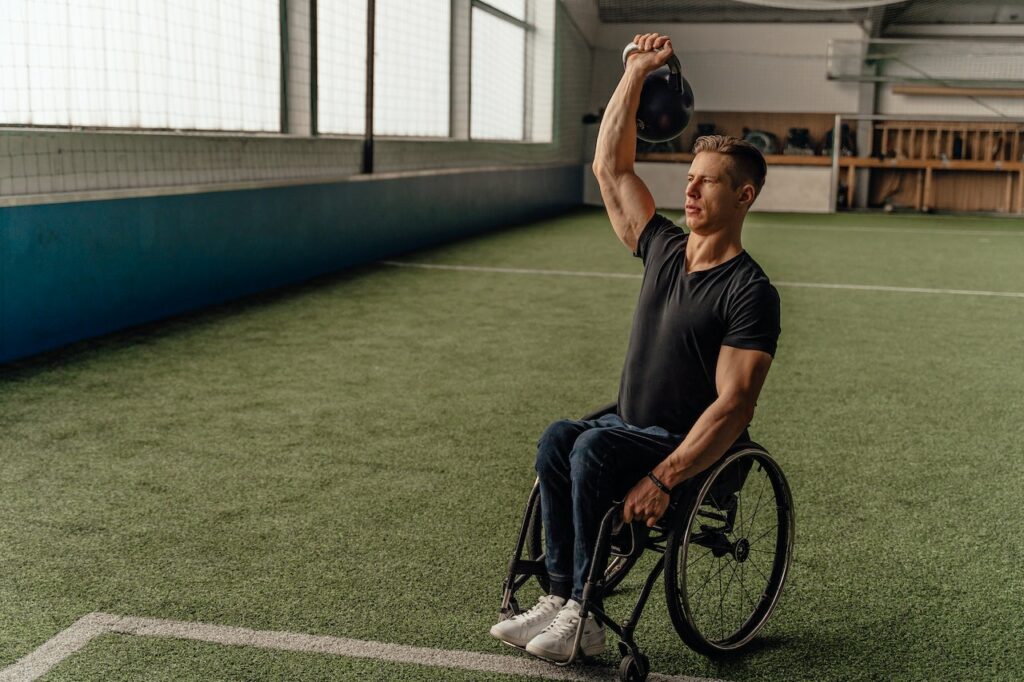
One of the best things about the kettlebell press is the number of variations you can try. With more than 10 different ways of doing this versatile exercise, you’ll never get bored with it! It also means that there’s likely to be a variation for everyone, to help get around any injuries or niggles you may have.
Who Shouldn’t Do a Kettlebell Press?
Those people with unstable shoulders or rotator cuff injuries should avoid the kettlebell overhead press, no matter how tempting it is to try it! As this exercise places strain on the joint, it can go wrong much more easily than you might think, leading to permanent damage.
In this case, a barbell military press is the better choice. Your range of motion will be reduced and your shoulder joints stabilized as your hands are connected by the barbell. There’s much less chance of one hand going rogue and wrenching a shoulder joint, and you’ll still be building strong shoulders.
How to Do a Kettlebell Press: Step By Step
Understanding how to do the movement is key to make sure you get your kettlebell press form right. Here’s a quick step-by-step guide to do it right. Pay attention to each of these points separately so you can make sure you’re always in the optimal position.
Your Stance & Rack
You want to be stable on the ground, so plant your feet about shoulder-width apart or slightly more, depending on how you’re comfortable. Make sure you’re steady on your feet.
Start with the kettlebell on the floor slightly in front of you, in the position to do a single kettlebell clean. From there, perform the clean to get the kettlebell into the racked position. This is your starting position for the KB press.
The Press
Before you press, make sure your shoulders are relaxed, and tense your quads, glutes, and abs to kick that stability in. From there, press your arm into the scapular position. Your shoulder should be ready and set for the movement.
Press upwards over your head. Lock your elbow out at the top, but be careful not to jar the joint. Take note that your shoulder should be set into its socket and shouldn’t move upwards! At the top, turn your wrist slightly—without moving your arm out of its straight position—so your wrist is facing forwards.
At this point, you should do a quick check to make sure your glutes are tightly squeezed and your core is engaged.
From there, lower the kettlebell back down in the same path it went up in, rotating your wrist back to an inwards-facing rack position. Don’t just drop it back down, though—you want to control the movement and think of it almost like pulling it back down like a lat pulldown.
Important to note: there’s NO bending of the knees and bouncing the weight upwards in this movement! You press the weight from a stationary position, using only your upper body muscles and your stabilizing muscles.
Kettlebell Press Variations
If you want something different to the regular single-arm kettlebell press, you can try doing one of these shoulder press variations. Some of them work the muscles a little differently, and some of them reduce the activation of certain muscles so you can focus more actively on the shoulders.
Seated Position
There are two ways to do this one. Either, seated on a bench, which will allow you to stabilize yourself using your feet, or on the floor, which has a bit less stability and might be a more advanced move to save for later.
We recommend starting on the bench. Sit on a bench or a raised surface at a height where your thighs can be parallel to the floor. This adds stability, but also takes the weight completely off the hamstrings and the hips.
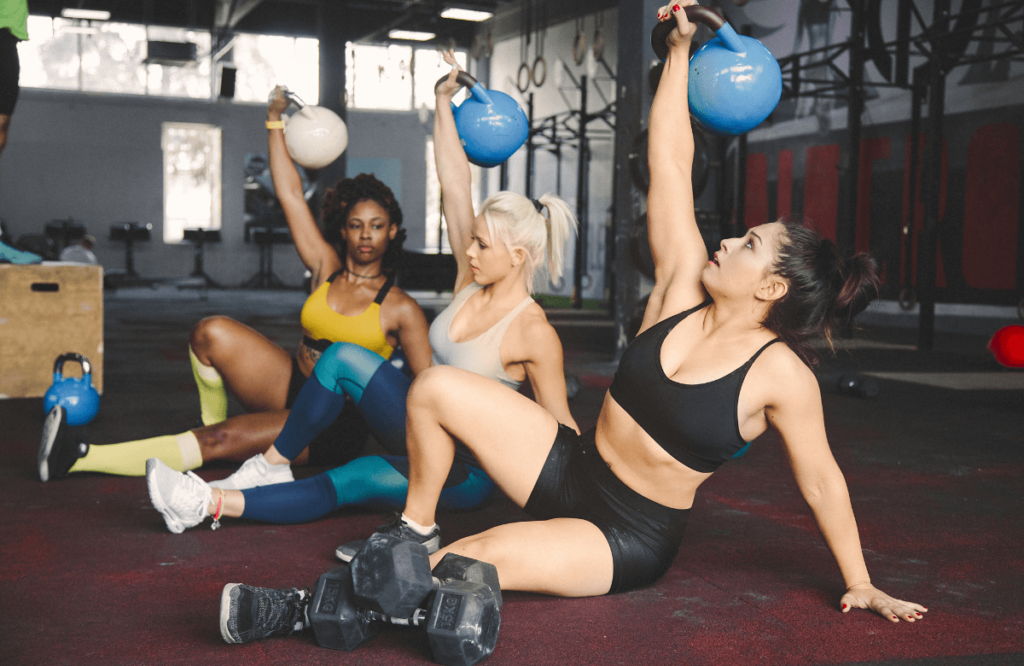
Use both hands to bring the kettlebell up to the rack position. From here, you can extend your other arm out to the side to steady yourself. Tense your core in preparation for the press.
The pressing motion is the same as the regular KB press. Lock your arm out, turn your wrist, and then bring it down in a controlled manner back to the rack position. Do the reps you need to, and the switch arms.
As you get better at this movement, you can begin lowering your seating position each week until you can do this one fully seated on the floor with your legs out in front of you.
Half-Kneeling/Kneeling
If you want a bit more core activation, this is a good choice. On one knee, or both, you won’t be able to use your legs to drive into the ground, which means your core activation is ramped up a bit.
Whether you’re using a half-kneeling position or full kneeling pose, make sure your legs are about shoulder-width apart. This part is important – tuck your tailbone in so that your spine doesn’t jut outwards at the bottom.
Use both hands to rack the kettlebell. Then, tense the core and the glutes, and do your press. Like all other variations, lock the elbow and turn the wrist. Bring it down slowly and gently, and continue for the required number of reps.
Double
As its name suggests, this is simply doing your press on both sides at the same time. You can do it standing, seated, or kneeling. You’ll need to rack both kettlebells at the same time, so be careful not to use a weight that’s too heavy.
Tense your core, press up with both arms at the same time, lock out, and return. Be careful not to lean too far back on this variation as you press—if the weight is a little heavy or you’re not used to this variation, it could turn into something resembling a hybrid between a shoulder and chest press.
Suitcase/Liberty
If you’d prefer to give your free hand something to do during the exercise or you need some help balancing, you can do the suitcase or liberty press.
The suitcase press has you holding a kettlebell in your free hand, hanging by your side, as you press the KB with the other hand. The liberty press has you holding the KB in a static hold above your head white you press with the other hand.
Both can be handy. The suitcase offers a bit of extra stability. The liberty offers a bit of an extra challenge! They’re good versions to have in the bank when you need them.
See-Saw
A see-saw press is similar to a double press, except you press one arm at a time. You’ll have both the kettlebells racked, but one stays in the racked position while you press the other. Alternate between them until you reach your reps.
Again, you can do this version standing, seated, kneeling, or half-kneeling, depending on your own preference!
Bottoms-Up
This is a fun variation that can work on your wrist strength and balance! Be warned, though—it’s not easy. Those with iffy wrists should probably stay away from it until they’ve built up stronger wrists.
For the bottoms-up kettlebell press, you’ll flip the kettlebell upside down, so the underside is facing the sky. The KB is no longer resting on your wrist, but instead is balancing in your grip.
You won’t be able to hold the kettlebell in quite the usual rack position. You’ll also probably need to do it a bit slower than usual, to keep the balance of the weight as it should be.
Make sure you’re still pressing up in as much of a straight line as you can, and coming down in a slow, controlled movement while keeping your core and glutes tense.
What Weight Should You Use for a Kettlebell Press?
You may need to experiment a little with weight in the beginning until you can find the right weight for your current strength level. Here’s how to find the perfect weight for you and how to progress with it over time.
- Pick a weight that you think will be too light for you.
- Aim for 4 reps for men, and 8 reps for women – with perfect form.
- If you can’t reach those without losing form, then the weight is too heavy.
- If you can, keep going until you reach 6 reps for men, 10 reps for women.
- Once you hit those rep counts, you know you can go for a heavier kettlebell next time.
If you can reach 4/8 reps with perfect form but can’t progress to 6/10 without your form going off, then stick within that range until your strength increases and you can move up.
Mistakes to Avoid When Doing a Kettlebell Press
These simple mistakes can not only ruin your gains, but they can also lead you down the road to injury. Take stock and make sure you aren’t doing any of them during your press.
Bending The Wrist
Your wrist should remain neutral (straight) throughout the movement. If it’s bending, the weight might be too heavy for you. On the other hand, your wrist could begin to bend when your arms and hands start to fatigue, so it could be the first part of your form that suffers.
Ensure that the wrist stays straight at all times. If you need to, use wrist guards to help support the joint during this kind of activity.
Not Activating Your Core
The press might be all about the shoulders, but the core is an intrinsic part of it! Failing to activate your core won’t necessarily ruin the movement, but you will miss out on core gains and you won’t be as supported as you should be during the movement.
Engaging your core will stop you from leaning too far backwards, hunching forwards, or leaning over to the side during the movement.
Incorrect Positioning
Many people inadvertently position their pushing arm incorrectly in the rack position. You know where the KB should be, but the way the arm lies doesn’t always support the movement.
In the rack position, your KB arm should be as vertical as possible. That means your elbow should be stacked underneath your wrist, not jutting out to the side. Aligning your joints like this makes the press much easier, more powerful, and less likely to cause injury.
When pushing, you should also push upwards in as straight a line as possible, not moving the arm outside the plane of the body at all, from shoulder to lock-out. This is safest and most effective for building muscle.
Using a Kettlebell That’s Too Heavy
There are two problems with pressing with a kettlebell that’s too heavy for your current strength level. One, it’s much more difficult to keep your form correct, which means there’s a higher chance of you hurting yourself.
Two, you won’t be getting the full muscle-building benefits of the movement, because other muscles will be stepping in to compensate. Use the guide near the beginning of the article to determine the right weight for you at this point in time. Don’t be tempted to go for heavier weights for “strength gains”!
Leaning To the Side
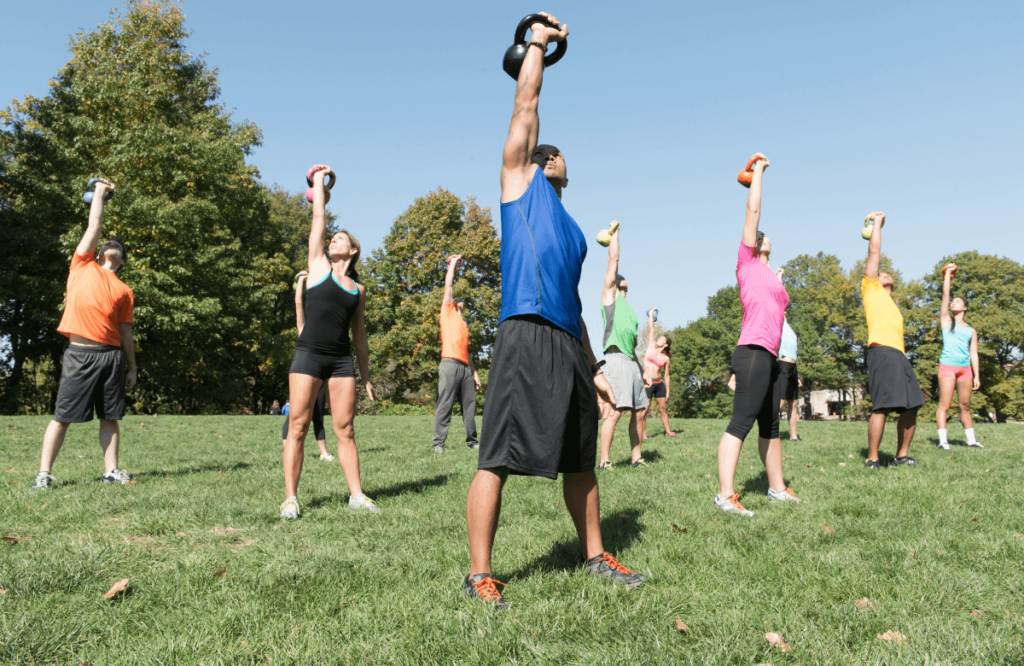
A lot of less experienced kettlebell pressers (and some experienced ones) make the mistake of leaning over to the opposite side while they’re pressing. Rather than keeping the movement straight upwards, you lean over to the side so you can get a bit more body behind the push.
This is a common issue when you’re pressing too heavy and your arm moves out of alignment with the plane of your body. It can put strain on the shoulder joint, so take extra care to stand up straight and press up straight!
Bouncing
Bending the knees and creating a bit of bounce before pressing might make the movement easier… Because it uses momentum to help get the weight up. While this does mean you can probably push heavier loads, it also means you aren’t actually pressing the weight fully with your muscle.
Robbing yourself of gains! And then there’s that fact that the faster processing speed can be harder to control and may lead to poor form. Press from a still, stationary position without the help of a bounce and you’ll have much better results.
How Many Kettlebells Do You Need?
The best thing about kettlebells is that you really only need one. The KB press can easily be done with a single kettlebell, and so can many other KB movements. There’s no need to run out and buy another one—your single kettlebell is basically a gym on its own!

