
One mobility coach says he wishes he had learned a single hip lesson a decade earlier.
Years of pain and frustration could have been avoided.
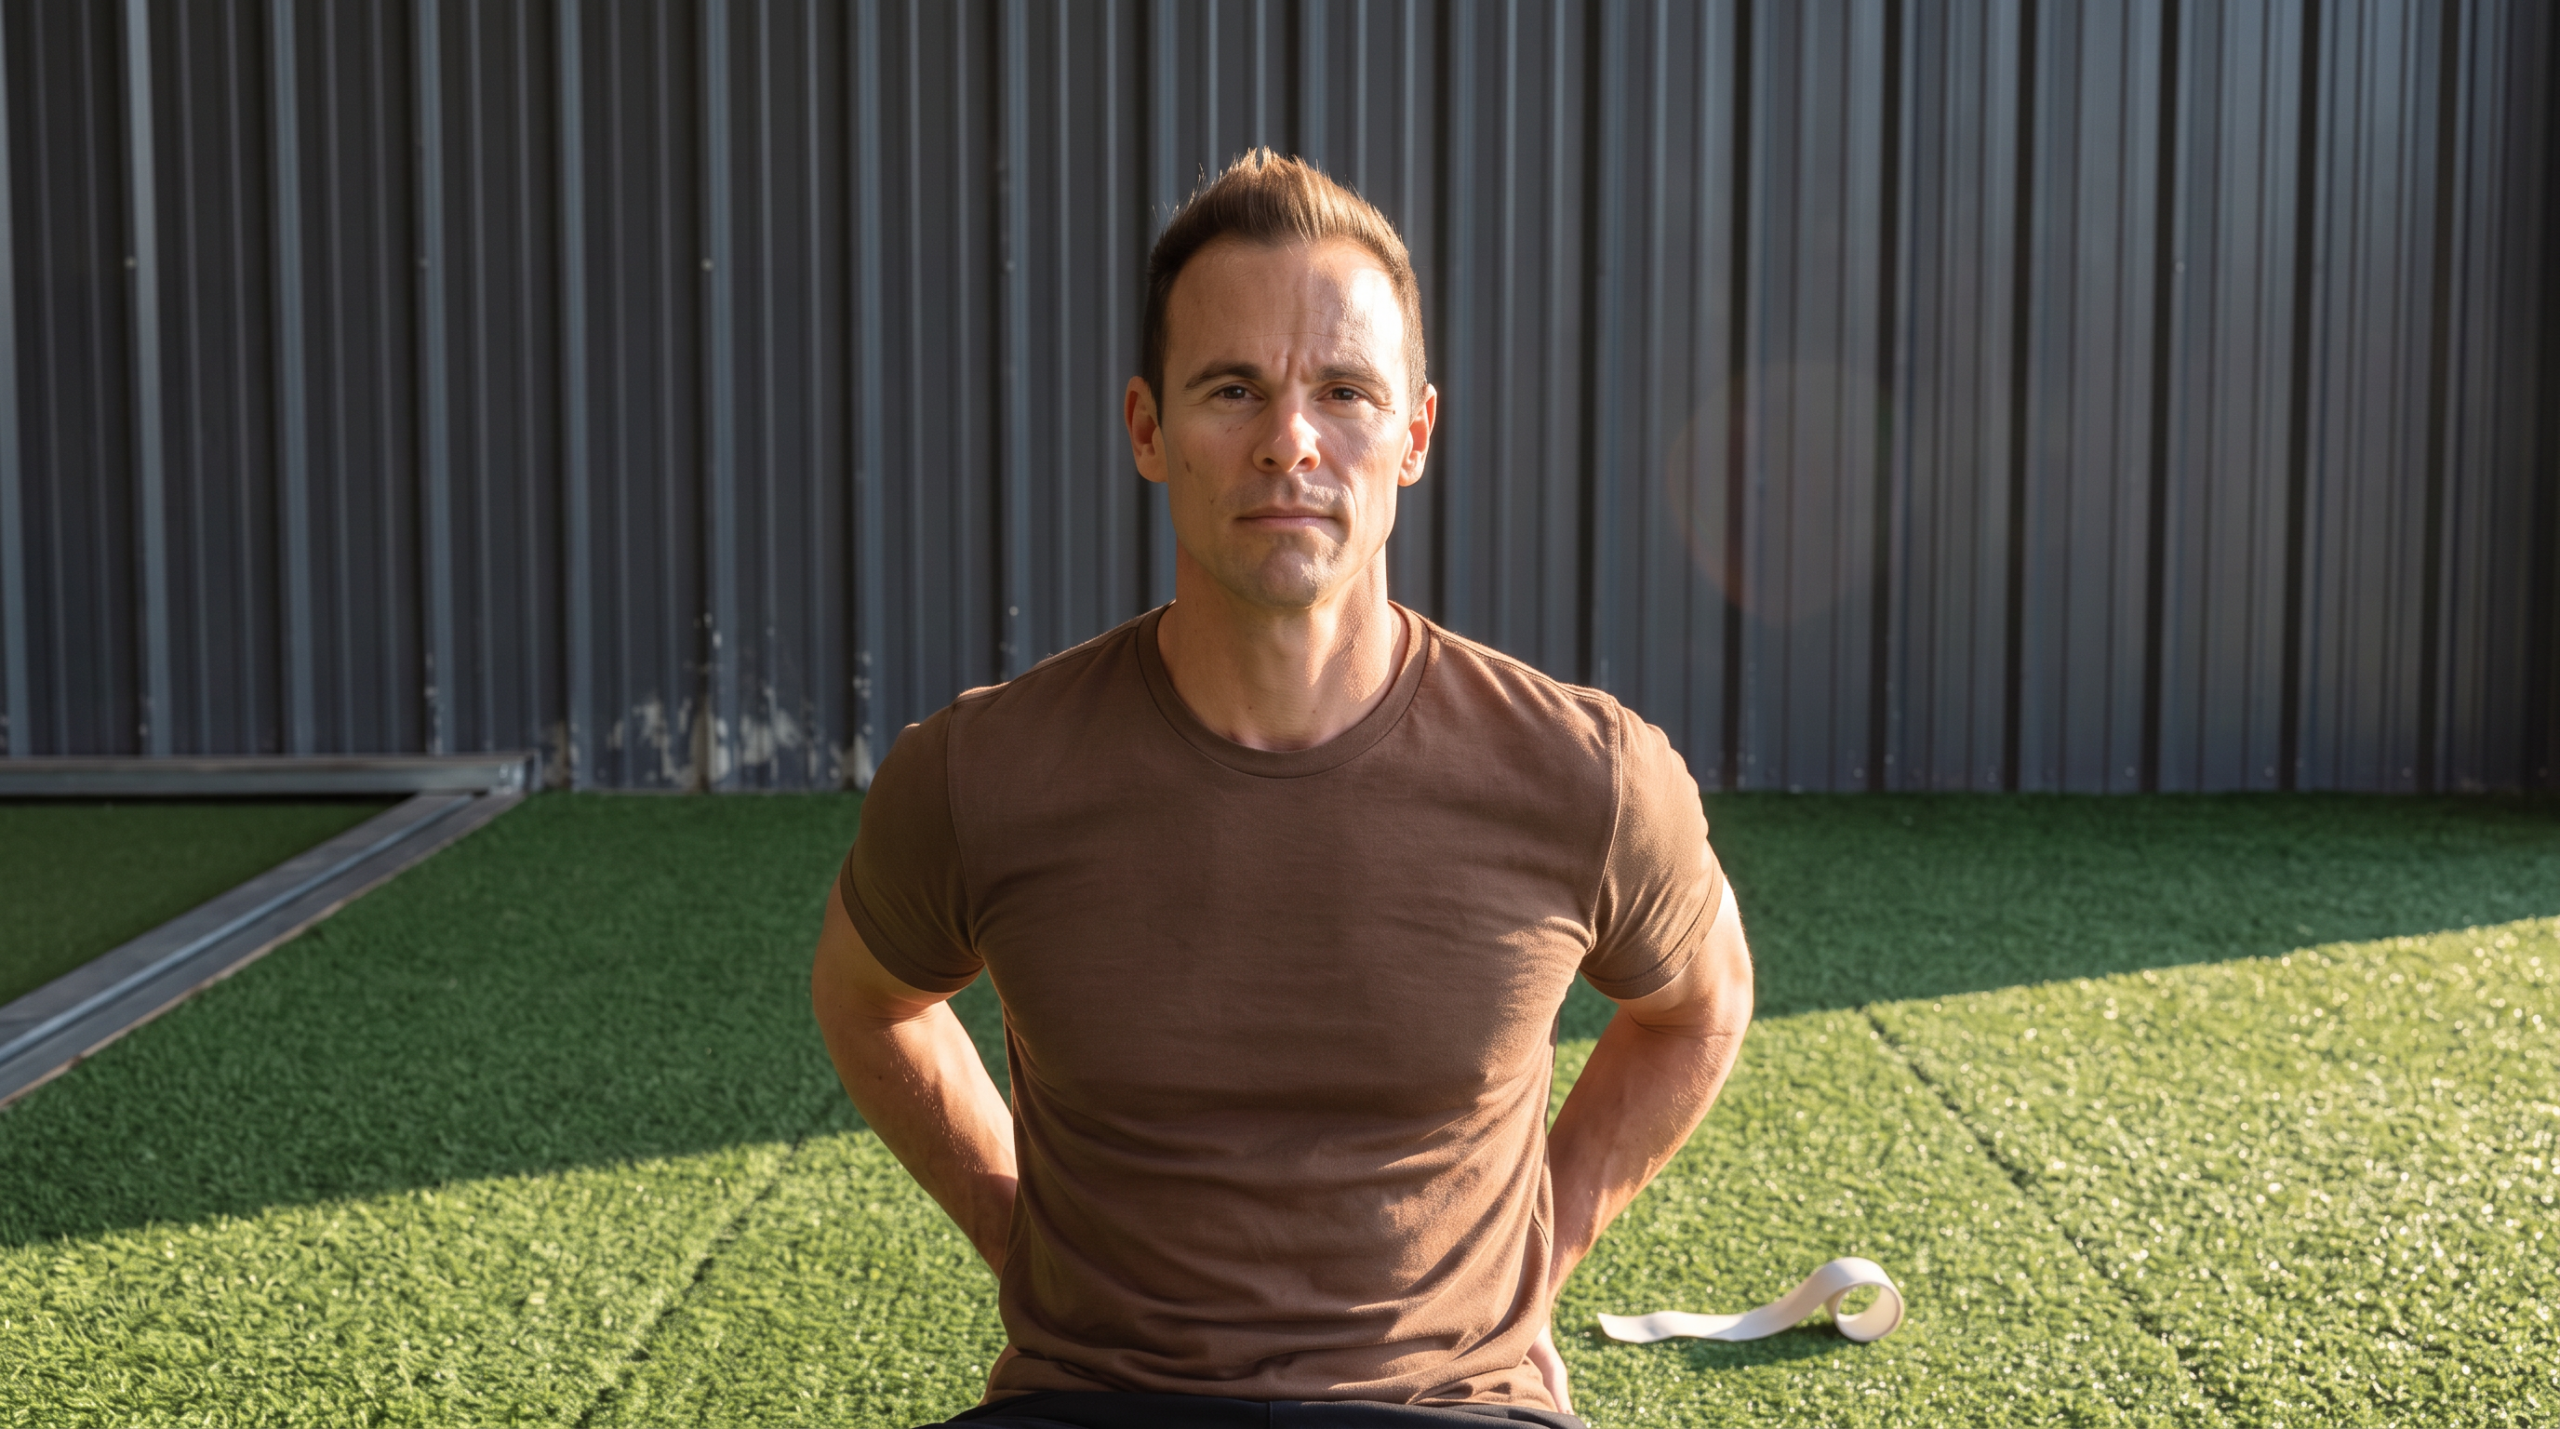
In a recent YouTube video, he explained why forcing your hips into more internal rotation often backfires.
The fix? Start by moving in the opposite direction.
Two simple drills and a smart testing trick are coming up.
I wish I knew this about hip mobility 10 years ago because if I did, it would have saved me from so much pain and frustration.
Jump to:
Why Forcing Hip Rotation Backfires
For years, the coach assumed limited hip internal rotation called for drills that pushed deeper into that exact range.
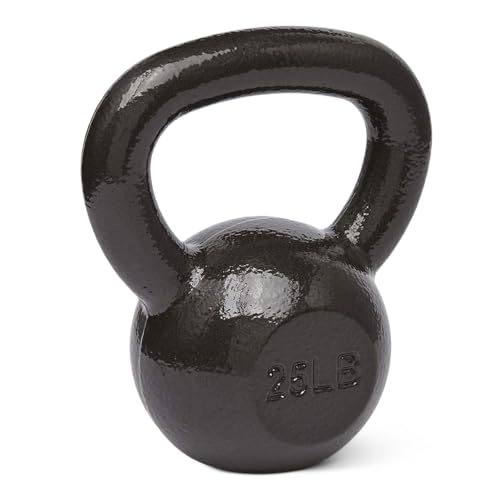
If you want something simple that actually works, this is one of the most effective tools I’ve used to build strength, conditioning, and endurance without needing a full gym setup.
- Full-body training with one weight using swings, squats, and presses
- Solid cast iron build that feels stable and lasts for years
- Comfortable grip that makes high-rep workouts easier to handle
He now calls that approach a mistake.
You only have so much space to work with.
His point applies to any direction: internal rotation, external rotation, flexion, extension. Even people who know they are tight probably have less usable range than they assume.
Genuine Space vs. Compensation
According to the coach, the body offers two types of movement. Genuine movement happens inside the joint, such as the femur rotating within the hip socket.
We can move through genuine space, like we can rotate our femur within our hip socket, but once we run out of space for that, we’re going to accommodate and compensate for the need to access more space by moving through other areas like our spine.
Compensation means the pelvis and spine take over. Training this way reinforces the wrong strategy and leaves the hip itself no better off.
His estimate is that most viewers have only 5 to 15 degrees of genuine hip internal rotation. That figure is his own observation from coaching, not a measured statistic.
The Counterintuitive Fix: Start in External Rotation
With so little room to work with, positions demanding big internal rotation simply push the spine to pick up the slack.
If you want something simple that actually works, this is one of the most effective tools I’ve used to build strength, conditioning, and endurance without needing a full gym setup.
- Full-body training with one weight using swings, squats, and presses
- Solid cast iron build that feels stable and lasts for years
- Comfortable grip that makes high-rep workouts easier to handle
I need to start myself in relatively more external rotation space because then that will give me more space to genuinely internally rotate into and move into the space I have and improve that space gently.
Think of it as opening the door before walking through it. Begin outwardly rotated, then gently turn inward through space that truly exists.
Step One: Measure Your Hips the Right Way
Before trying either drill, test internal and external rotation on each side. Retest afterward to see which drill worked better for you.
Make sure your knee stays perfectly pointed at the ceiling. If that knee deviates in or out, then you are just moving through your spine to accommodate that mobility.
A wandering knee means the measurement is inflated by compensation. Keep it vertical for an honest number.
Drill One: The Seated Block Squeeze
Setup
Lie on your back with feet up on a chair, hips and knees bent near 90 degrees. A yoga block works well, though any similar object will do.
Place the block between your mid-thighs and bring the insides of your feet together. Knees angle away from each other, which starts you in outward-rotated space.
Choosing Block Width
- Under about 15 degrees of internal rotation: use the widest block position between your thighs.
- 15 to 30 degrees: go slightly narrower, with feet still touching.
- As you improve: narrow the object gradually.
The Squeeze
Keep the block level, stay fully relaxed, and let your chin point passively toward the ceiling.
If you want something simple that actually works, this is one of the most effective tools I’ve used to build strength, conditioning, and endurance without needing a full gym setup.
- Full-body training with one weight using swings, squats, and presses
- Solid cast iron build that feels stable and lasts for years
- Comfortable grip that makes high-rep workouts easier to handle
Just a two or three out of 10 is all that’s needed.
Only the inner thighs should engage. Never the front or sides of your hips.
Take about 10 slow diaphragmatic breaths. Feeling tension at the front of your hips? Back off slightly into less hip bend, then squeeze again.
Optional Tweak for Anterior Pelvic Tilt
Some people with pronounced anterior pelvic tilt benefit from digging the heels down slightly before squeezing. This creates a subtle posterior tilt while the low back stays flat.
Make sure your glutes remain off.
Glutes are external rotators, so firing them restricts genuine internal rotation. Hamstrings may engage a bit, but if glutes kick in, let the pelvis rest on the floor.
Drill Two: The Three-Quarter Side-Lying Position
Setup matters enormously here. Lie on your side with your feet against a wall and run through this checklist:
- Support your head so the neck stays neutral and relaxed.
- Angle the thigh roughly 45 to 60 degrees relative to the trunk.
- Keep shins perpendicular to the wall, in a straight line.
- Stack shoulders, hips and knees.
- Split weight evenly between the greater trochanter (the bony point on the side of the hip) and the outside knee.
- Relax your toes against the wall.
Opening the Top Leg
Slowly open the top leg, keeping the foot in line with the thigh. Trunk and leg rotate together, at the same pace.
If you want something simple that actually works, this is one of the most effective tools I’ve used to build strength, conditioning, and endurance without needing a full gym setup.
- Full-body training with one weight using swings, squats, and presses
- Solid cast iron build that feels stable and lasts for years
- Comfortable grip that makes high-rep workouts easier to handle
Stop when either of two things happens:
- Pressure leaves the bottom outside knee. This is the most important signal you have gone too far.
- The top glute or hip starts cramping. Effort should stay around a 3 or 4 out of 10.
The Gentle Push
From there, nudge the top knee forward, tracking over the big toe. This shifts weight onto the bottom hip and biases a hint of internal rotation, starting from an open position.
Notice how the turn is very subtle.
Breathe in through the nose and out through the mouth for five to 10 slow breaths. If the top glute threatens to cramp, rest and do what you comfortably can.
Fixing the Most Common Errors
The most common mistake people make is that they open too much with their lower body and their upper body stays turned.
- Open slowly and match upper-body rotation to the leg.
- Press through the inner heel and big toe while keeping the outside of the top foot planted.
- Relax the bottom shoulder. Keep that arm straight, not squeezed backward.
- Keep the push small. Exaggerating it defeats the purpose.
Want a Plan Tailored to Your Body?
The coach points viewers toward his beginner body restoration program, which includes a built-in self-assessment. It helps tailor exercises to individual limitations, asymmetries and goals.
A link sits in the video description. Anyone with persistent hip pain should check with a qualified clinician first.