All good deadlifting starts from the floor. When you get the deadlift set up right, you stand a much better chance of hitting good numbers in a safe and effective manner. The deadlift remains one of the best exercises for building muscle we have.
The deadlift set up is an important part of the lift, because it establishes the platform on which the rest of the lift is based. There’s a popular saying in fitness that relates to stability… ‘ you can’t fire a rocket from a canoe’.
What it means is that if you’re going to produce a large force (enough to lift a heavy weight), it has to be done on a stable base. Not only does the deadlift set up help you to establish a stable base, it also helps to create the required stiffness and rigidity in the rest of your body.
A well executed deadlift set up will help you lift heavier weights. It’ll also help you to do it safely. You’ll be in the proper position for the lift and able to lift with great deadlift form.
In this article we’re going to look at how you should get into the proper position to hit great deadlifts.
Why the deadlift needs a setup
The deadlift is an exercise that requires potentially vulnerable parts of the body to bear the force of a lot of weight. In particular, the lower back. If you rush the lift and find yourself in a disadvantageous position, you can hurt your lumbar spine even with a light weight.
That’s not to say that deadlifting is dangerous, it’s not. It’s only risky if the technique isn’t correct and you’re in a bad position at the start of the lift.
In fact, the three powerlifting exercises (squat, bench press and deadlift) were assessed in a 2018 study. The researchers found them all to be safe, and of the three exercises the bench press had the highest injury risk despite the lightest weights lifted. Deadlifting was considered very safe.
But we can’t get complacent – deadlifts are often heavy!
The purpose of the deadlift set up is to get the body ready for a heavy lift. We establish technique and form before we get started. This helps to minimise any risk of injury when performing the lift, irrespective of the weight pulled.
Muscles worked in the deadlift
In a conventional deadlift we use most of the muscles in the body. From the starting position our forearms are engaged, whether we’re using a mixed grip, overhand grip or hook grip.
We drive up from a squat position, so that uses the legs. As we pull the bar up, our back and abdominal muscles are used. The hip drive involves the glutes as well. Essentially everything other than the chest is used in a conventional deadlift.
Deadlift variations change this slightly compared to a traditional deadlift.
When we do perform a sumo deadlift for example, there’s more emphasis on the quads and the mid/upper back. This is due to a lower starting position.
In a Romanian deadlift or a stiff-legged deadlift, there’s more emphasis on the hamstrings.
Generally speaking though, the deadlift in any variation is a compound exercise that uses a lot of muscle, in particular the legs, the abs and the posterior chain muscles. It’s why it’s such an effective muscle and strength building exercise .
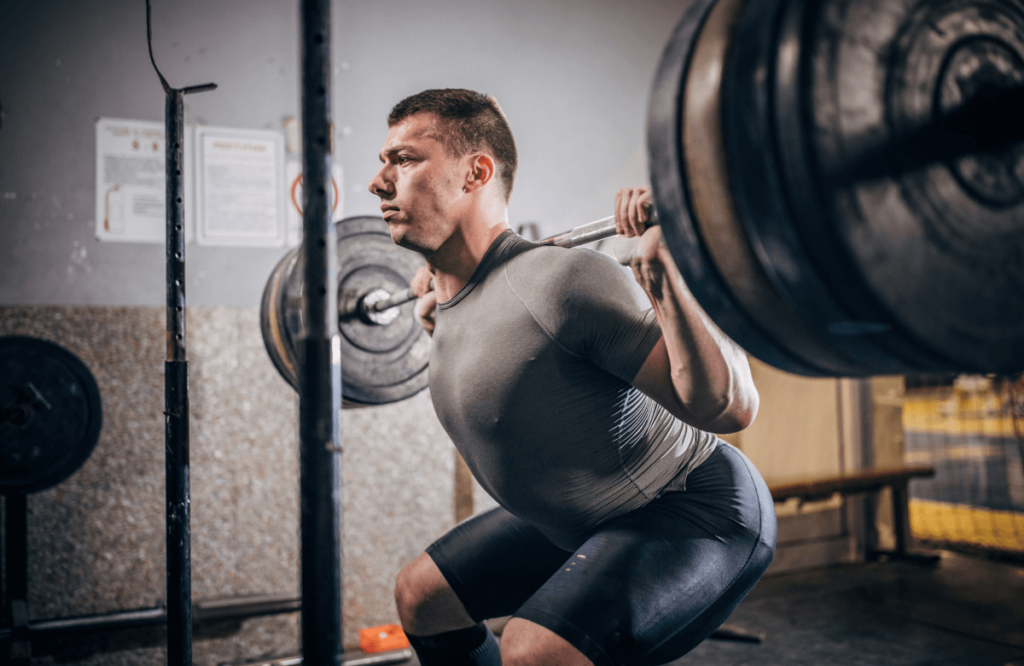
Getting the movement sequence right
The deadlift exercise is broadly divided into a leg drive, a hip thrust and a return. The purpose of the deadlift set up is to get ourselves into a good setup position to make these phases safe and effective.
By following these steps below (which are for a conventional barbell deadlift), you’ll be in the right setup position to execute a great deadlift. You’ll have proper hip position, torso position, a neutral spine, your thoracic spine will be set and you’ll be ready to hit good reps of heavy deadlifts.
The deadlift set up – step by step
To get yourself into the proper position for the traditional deadlift, follow these steps…
Step 1: Correct foot positioning
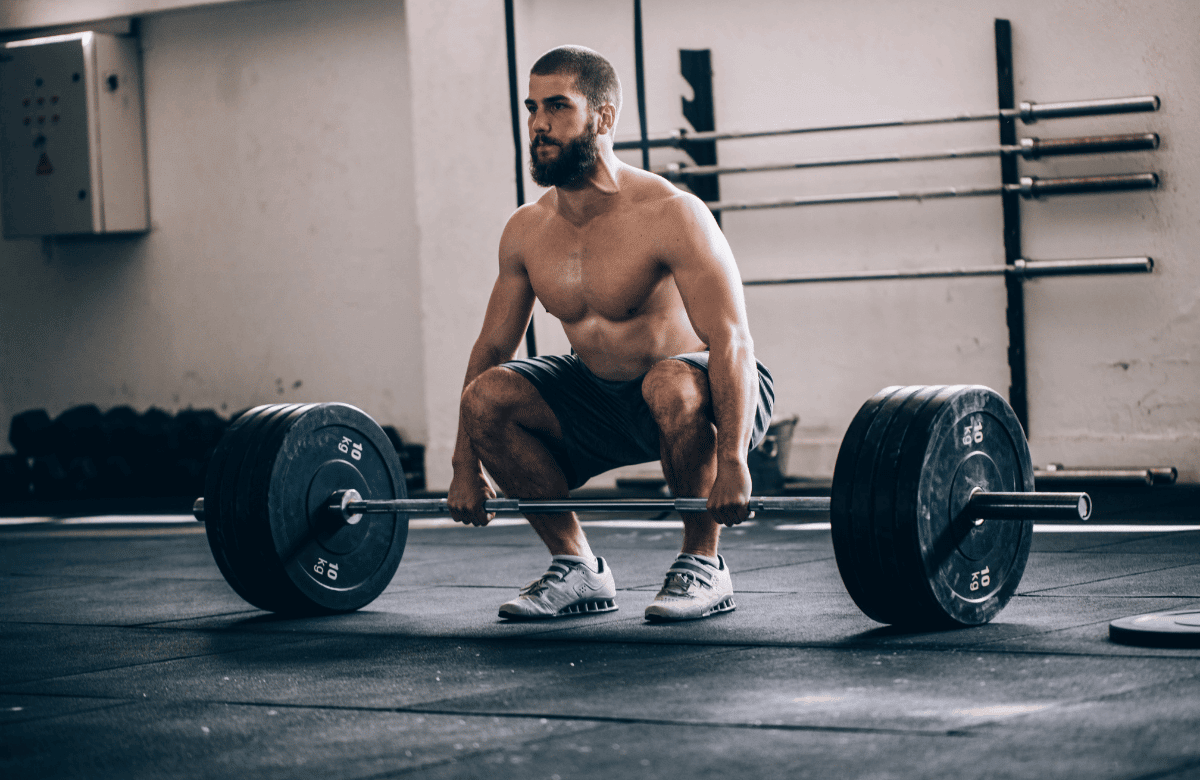
The first point of the deadlift setup is establishing your foot position. In a standard deadlift, the feet are around shoulder width apart. The weight is balanced across the feet, with an equal distribution across the balls of the feet and the heels.
The next point is to ‘screw’ your feet into the floor. This establishes the proper position for the feet and allows you to lift a heavy weight.
When your feet are secure, your weight is balanced and you’re in a neutral spine position (back straight, weight distributed evenly), you can move on to the next step in the deadlift set up.
Step 2: Bar positioning
With a standard deadlift, the bar should be positioned close to the shins in the set up. This keeps an efficient bar path and reduces the risk of lower back injury.
When the bar is too far away from the shins, you end up overreaching. This puts excess stress onto the lower back, but it also changes the bar path. Your initial pull isn’t directly upwards – it ends up coming up and inwards.
If you want to perform standard deadlifts with proper form, keep that bar close to your shins. It’s an important part of the deadlift set up.
Step 3: Hips down
The two phases of the deadlift are the leg drive, then the hip thrust.
You can only fully recruit the legs for the deadlift when your knees are bent and your hips are down. Getting your hips into position, with a good bend at the knee means the legs contribute significantly to the lift.
If you don’t have your hips in position, your legs will be too straight and they won’t contribute to the lift. This will put more stress on the lower back, increasing the risk of injury and reducing the amount of weight you’ll be able to pull.
Your deadlift performance is dependent on each of the major muscle groups contributing fully to the lift, so ensuring your hips are in the correct position before you start the pull is vital. If they’re in a bad position, your deadlift strength will be seriously impacted.
Step 4: Grip the bar
There are different types of grips you can use for deadlift – double overhand grip, underhand grip, wide grip, neutral grip, narrow grip, mixed grip… you get the point.
The type of grip will depend on the type of deadlift you’re doing.
In this case I’m assuming you’re doing a conventional deadlift, which will usually either be a mixed grip (one palm facing inwards, one palm facing outwards). The width of the grip should be slightly wider than shoulder width.
Take hold of the bar with a tight grip. It might even be slightly uncomfortable if you’ve got a barbell with an aggressive knurling. These are the ‘rough’ sections of the bar, designed to help with grips. If it’s particularly sharp or rough, it’s often known as an ‘aggressive knurling’.
With a tight grip, it’s on to the next step of the deadlift set up.
Step 5: Torso up, core braced, lats tight…
We’re now into the final stages of the set up. This step is the one that sets the upper body into the proper position, and helps to protect the back.
So far our deadlift setup position looks like this…
- Feet shoulder width apart
- Bar pulled close to the shins
- Hips are down, knees are bent
- We have a strong grip of the bar
From the low hip position, raise your torso whilst your hips stay low. Keep your back in that strong, neutral position. It should be completely straight here. Your body weight should be balanced over both feet and the feet should be ready to drive into the floor.
At this point you need to ‘set’ your lats and shoulders in place. You do this by squeezing the shoulder blades backwards and downwards. This engages the muscles and helps to get the upper body in position. It also helps to maintain the neutral spine. Keep your core tight throughout.
This is a strong position to be in. There’s a couple more stages to complete the deadlift set up.
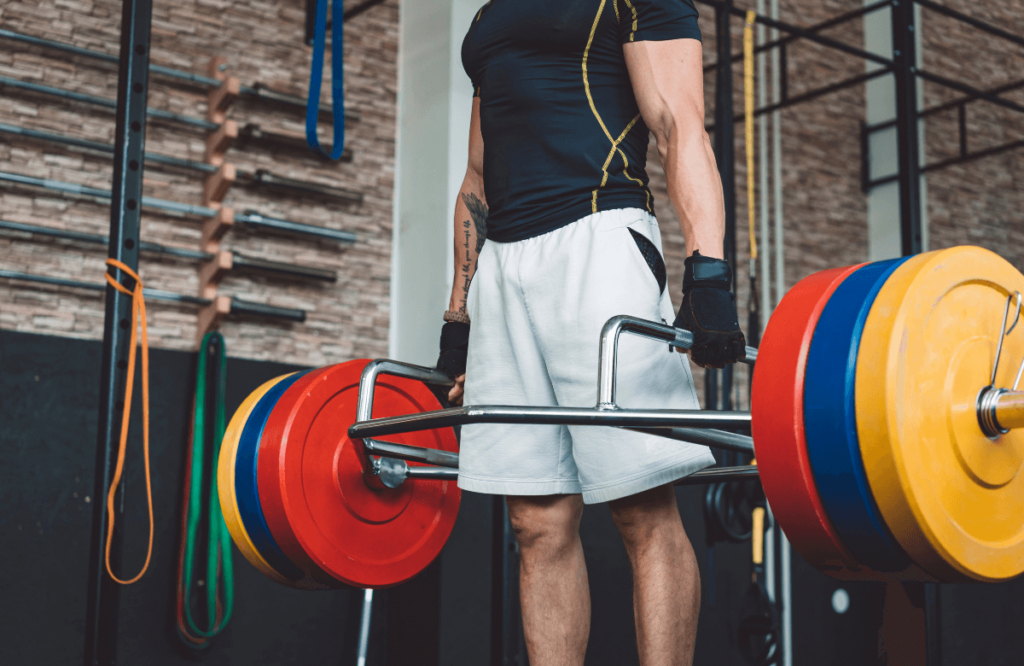
Step 6: Pull the slack out of the bar
There’s a tiny bit of ‘play’ between the inside of the weight plate and the bar. When the bar is pulled up, there’s a small bit of movement before the barbell hits the top of the plate, bringing it to a stop. This is called pulling the ‘slack’ out of the bar.
Once there has been enough horizontal bar movement to pull the slack out of the bar, you’re at the point where the lift is ready to begin. You’ve got a split second to run through the following…
- Foot position
- Hip position
- Grip position
- Back and torso position
Once these are all set, it’s the deadlift set up complete and the lift begins…
Step 7: Big leg drive – WE HAVE LIFT OFF!
As I’ve said earlier, the deadlift is in two phases – the leg drive and the hip hinge. The legs are the prime movers of the exercise, as proven in this 2020 study on the muscles worked in different versions of the deadlift.
The last element of the set up is maintenance. Once you’ve finally pulled the slack out of the bar, it’s important to make sure your pull is smooth and consistent. If you rush the pull, you could end up with too much spinal flexion, risking injury and reducing your deadlift performance.
The back is in a strong position when it is straight, not bent over. Too much spinal flexion is a power leak if not controlled. Deadlift form should be maintained throughout the lift, and the deadlift set up is an important part of the deadlift form.
This article is focussing on the deadlift set up, not the full technique so we’re going to leave the rest of the lift out. We’ve got other articles for that!
Reset each time
The deadlift exercise requires a reset for each repetition. The clue is in the title… It’s called a deadlift. Lifting a dead weight from the floor.
This means the weight is returned to the floor at the end of each lift.
With the weight being returned to the floor, each new rep requires a new deadlift set up. Run through the whole process again. When you’re used to deadlifting, it’s a process that takes a couple of seconds maximum. It’s important though – never neglect it. You want to be in the proper position before each rep. Rushing your set up just to hit the reps is a fool’s errand.
You’re more likely to pick up an injury with rushed reps. In my years I’ve seen a bicep tear and countless back injuries as a result of rushing a deadlift.
Does the deadlift set up change with variation?
The short answer is no. Whether it’s a deficit deadlift, a trap bar deadlift, sumo deadlift etc, it’s largely the same sequence. Of course there are differences in limb position (legs wider for sumo etc), but the general gist is the same. Neutral position for the back, legs bent, core and lats tight and braced, drive through the legs first etc.
Although the technique might change, the deadlift set up sequence remains largely in place.
Why is deadlift technique so important?
The deadlift is a huge compound lift, and whilst it’s an excellent exercise, it carries risk if you’re not careful. Ensuring a neutral spine, limited spinal flexion, smooth horizontal bar movement, good grip strength and a big leg drive are all important to a solid deadlift. Add to this keeping your core tight and your movement smooth and you reduce the risk significantly.
This is important even when you’re lifting a lighter weight. Don’t get complacent – it’s a route to failure.
Deadlifting is a fantastic compound lift for adding muscle mass and building core strength. It has huge carryover to a lot of sports, as well as general fitness and day to day life.
Just remember to never neglect your deadlift set up. Use this article as your guide!

