
CrossFit athletes know that mobility can make or break performance.
Without it, movements like overhead squats, snatches, and thrusters become not just difficult, but painful.
A CrossFit coach recently shared a simple 30-day mobility protocol that targets the three most common problem areas: squat depth, front rack position, and overhead stability.
The best part? Each drill takes just five minutes and requires zero gym equipment.
Jump to:
- The Three Mobility Pillars Every CrossFit Athlete Needs
- The 5-Minute Deep Squat That Changed Everything
- Days 11-20: Opening the Front Rack Position
- Days 21-30: Building Overhead Capacity
- Why Time Under Tension Beats Quick Stretching
- The Sitting Problem That Creates Mobility Crisis
- Building Your Own 30-Day Mobility Challenge
- Beyond the Basics: When Five Minutes Isn’t Enough
- Sources
The Three Mobility Pillars Every CrossFit Athlete Needs
According to the coach, who implemented this protocol as a community challenge, CrossFit demands mobility in three critical areas.
Squat mobility allows athletes to hit proper depth without compensations. Overhead mobility ensures safe positioning during snatches, overhead squats, and handstand movements. Front rack mobility determines whether cleans and thrusters feel smooth or impossibly awkward.
The common thread? Modern lifestyle habits actively work against all three.
A lot of people struggle with the overhead and the front rack and the squat because they sit a lot, right? And when they get stuck in these sitting positions, it becomes really hard to break out of that.
Hours spent hunched over keyboards, scrolling phones, and sitting in cars create exactly the opposite positions needed for CrossFit movements.
The 5-Minute Deep Squat That Changed Everything
The coach’s mobility journey started with injury—specifically a high hamstring tear that left his knees feeling “super junky” and unable to fully bend.
That’s when he discovered a video from Olympic weightlifting coach Zack Telander about the five-minute deep squat hold.
I started adding that into my routine and it completely changed my mobility in the squat.
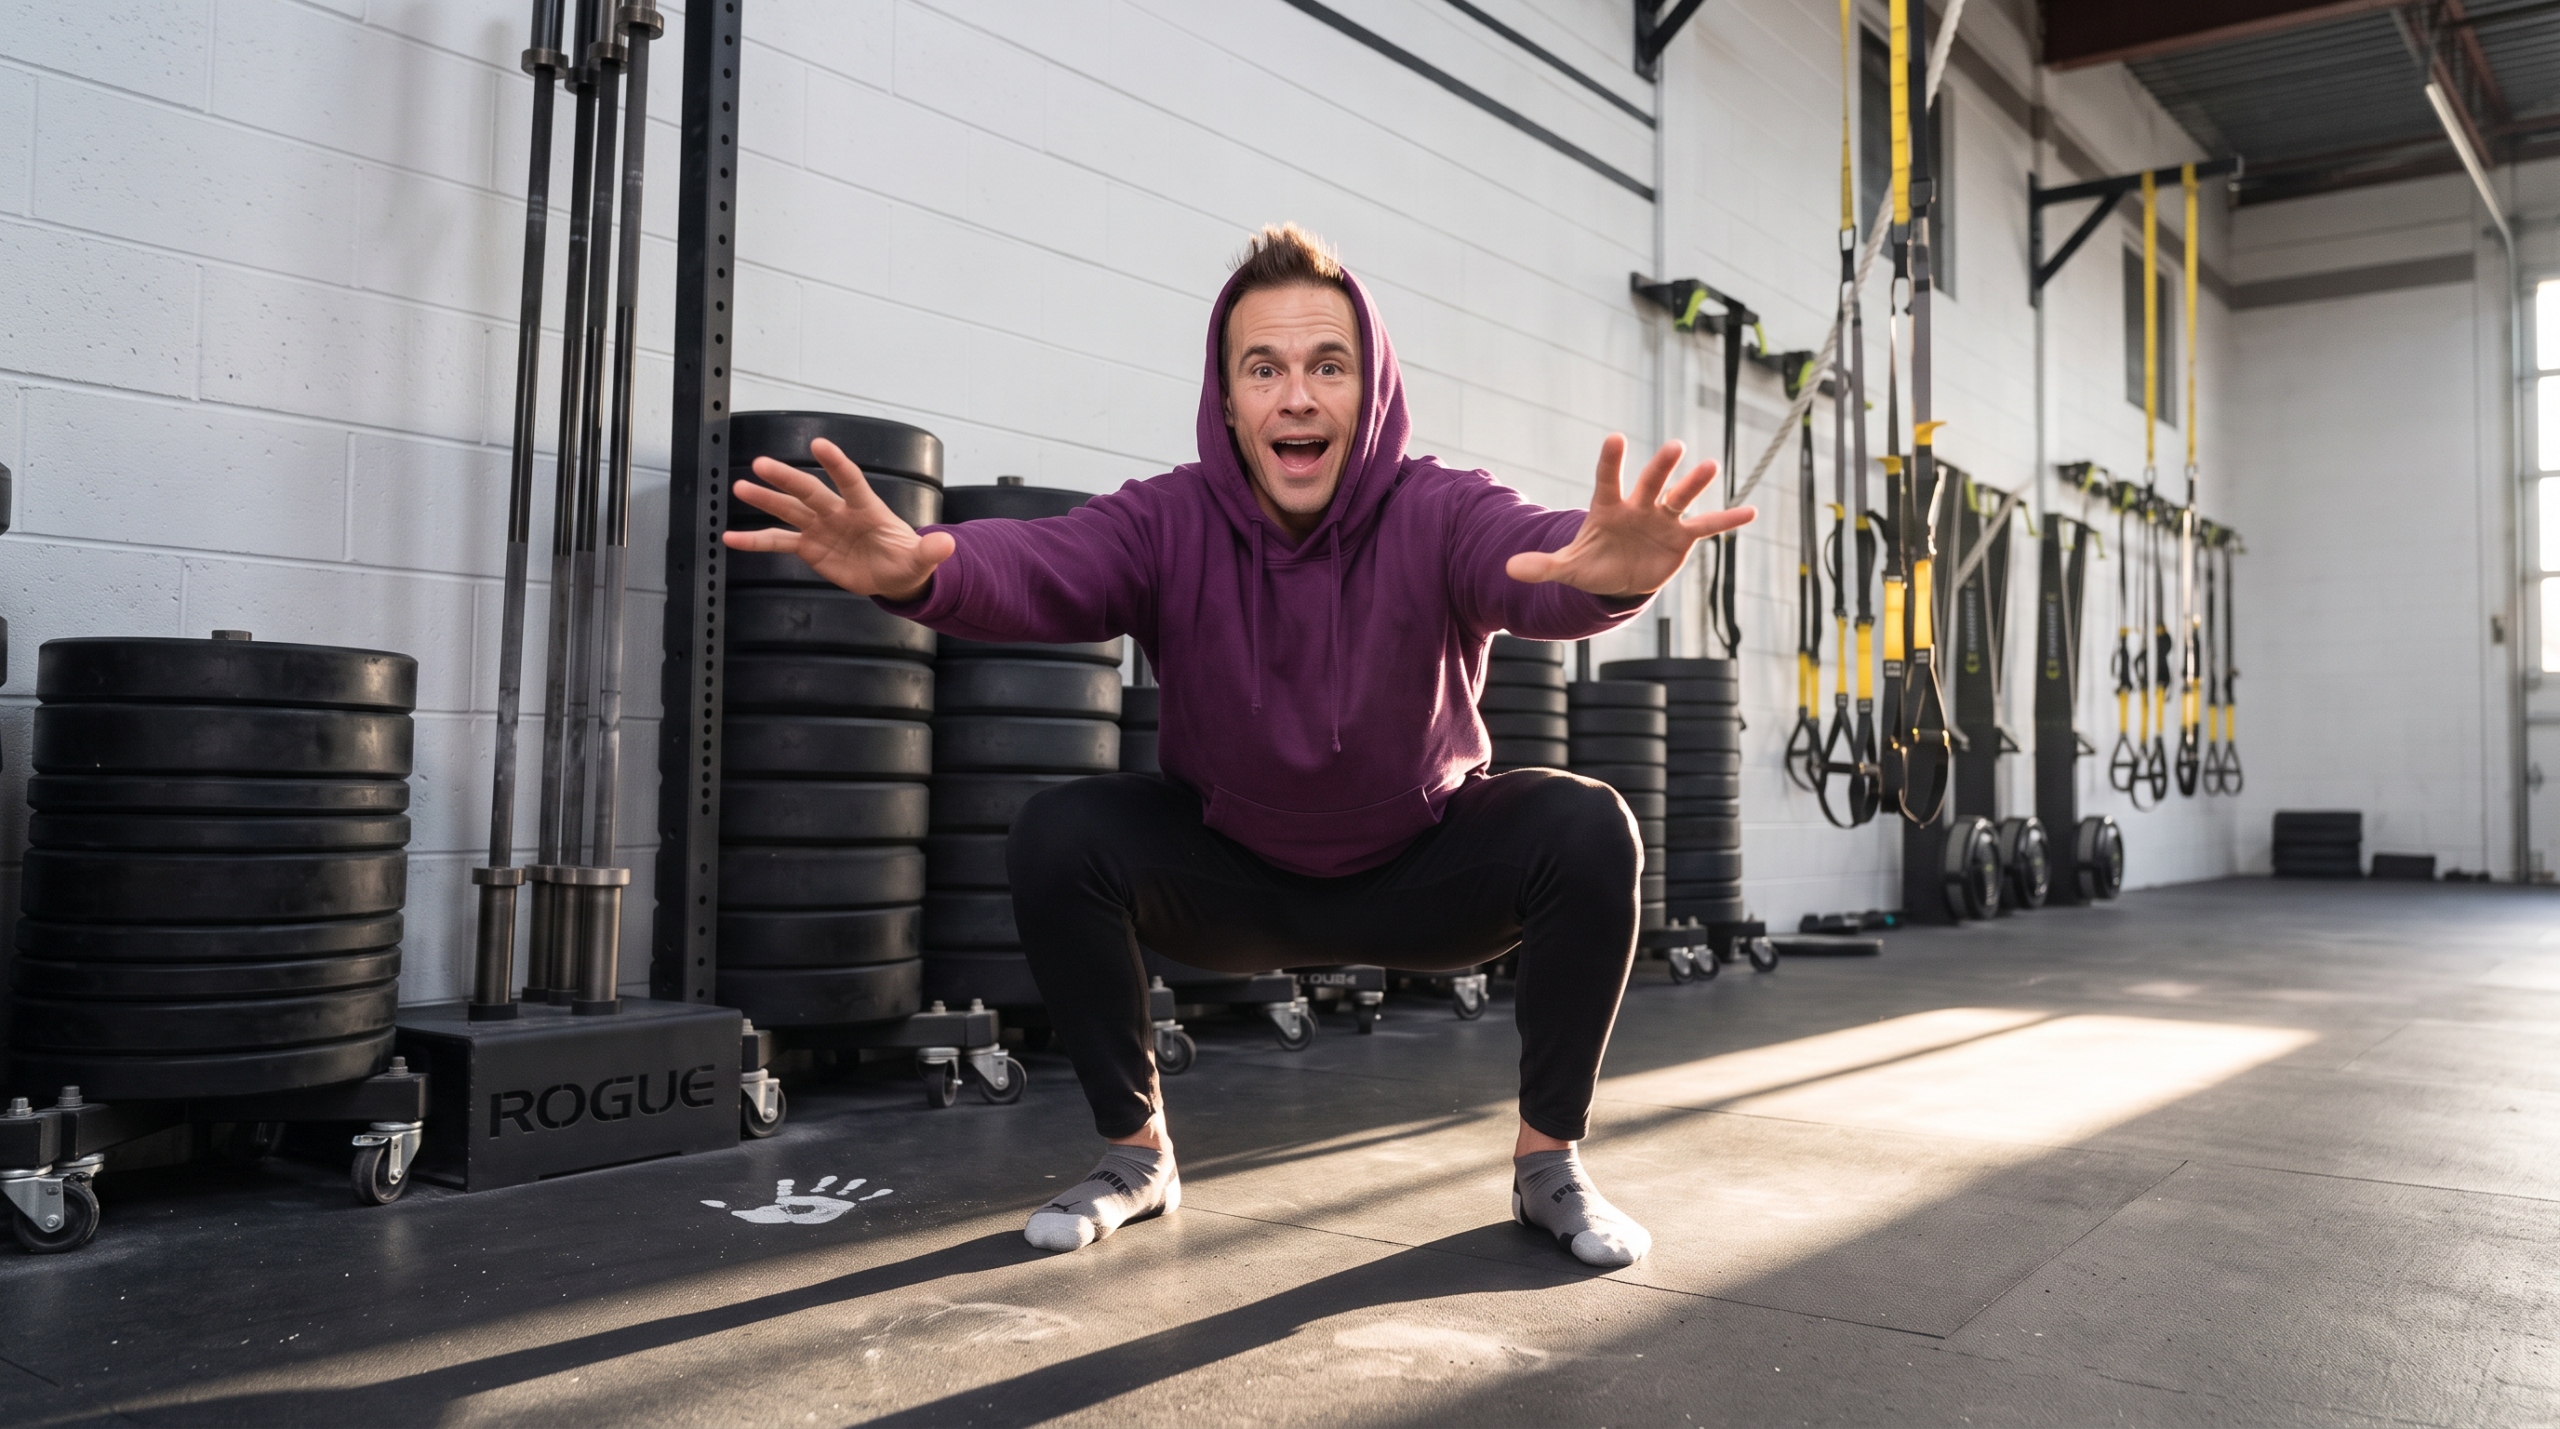
The concept is brutally simple: set a timer for five minutes and stay in a deep squat position for the entire duration.
How to Execute the Deep Squat Hold
The protocol emphasizes quality over punishment. Athletes should descend into their best possible squat position, keeping the big toe planted firmly on the ground.
Once in the bottom position, the goal is simply to stay there.
- Beginners: Take breaks as needed, but return immediately to the squat
- Movement allowed: Rock side to side, push elbows into knees, place hands on feet
- Progression goal: Reduce breaks until completing five unbroken minutes
- Exit strategy: After the timer, organize position and stand using proper mechanics—don’t just shoot the hips up
The magic happens through time under tension. Five minutes of consistent daily exposure forces adaptations in ankle, hip, and thoracic mobility that spot stretching simply cannot achieve.
Days 11-20: Opening the Front Rack Position
The second ten days of the protocol split time between two complementary stretches targeting front rack mobility.
Understanding why the front rack feels terrible for most people reveals why these specific stretches work.
The Three Front Rack Limiters
A solid front rack position requires three simultaneous qualities that modern posture actively destroys:
- Open pecs and front shoulder capsule
- Ability to retract the shoulder blade while driving the elbow up
- Extended thoracic spine that maintains position under load
A lot of times again from our normal life position of typing on the computer, texting on cell phones, and driving in cars, we get stuck in this shape and then it becomes really hard to get a good solid full grip around the bar.
The solution involves two targeted drills, each performed for 2.5 minutes per side.
The Twisted Cross for Shoulder and T-Spine
This stretch directly counters the forward-shoulder posture that plagues desk workers.
Lie face-down with both arms extended in a T-position. Drive the front shoulder into the ground while placing the opposite hand in a push-up position. The leg on the reaching side rotates up and over, with the foot attempting to touch the stabilizing hand.
The goal: Achieve 90 degrees of torso rotation while keeping the front shoulder pinned to the floor.
This position forces time with the arm behind the body—exactly opposite to the habitual forward position that ruins front rack mobility.
The PVC Rack Stretch for External Rotation
Days 16-20 introduced a more specific shoulder stretch using a PVC pipe or broomstick.
Place the pipe in your full palm—this detail matters enormously. Position it behind the shoulder, then grab the pipe in front of your body with the opposite hand. Slide the lower hand down while pulling across the body.
If your hand slips, we’re not doing anything and this is not helping you stretch. So don’t stretch further and lose this full hand around the pipe.
The stretch creates external rotation torque in the shoulder—the exact range of motion needed to rack a barbell without dumping load into the wrists.
In fact, the coach notes that athletes who develop this shoulder mobility often see wrist pain disappear entirely, because the load transfers to the body rather than collapsing into vulnerable joints.
Days 21-30: Building Overhead Capacity
The final ten days focused on overhead positioning through a deceptively challenging drill called the wall hinge.
This stretch requires no equipment beyond a wall, making it accessible for home practice. But don’t mistake simplicity for easy.
When you start this, it doesn’t really feel like anything. It doesn’t feel like you’re working that hard, but by the end of this, this is the toughest one in my opinion.
How to Perform the Wall Hinge
Stand facing away from a wall. Place hands on the wall at approximately 90 degrees—arms extended, torso hinged forward parallel to the ground.
Rather than passively holding position, athletes cycle through three active phases:
- Active hands: Press forcefully into the wall, reaching through the shoulders while driving the hips back
- Hamstring flexion: Contract the hamstrings and reach the hips toward the ceiling, creating lumbar extension
- Shoulder drop: Allow the ears to sink through the shoulders, working to bring the chin progressively closer to the floor
Cycling through these phases throughout the five minutes creates significant opening in the thoracic spine and shoulders—exactly what overhead movements demand.
One critical warning: exit this position slowly. Walk the hands toward the wall into a push-up position before standing. The intensity of the stretch makes sudden movements risky.
Why Time Under Tension Beats Quick Stretching
The distinguishing feature of this protocol isn’t the specific stretches—though they’re well-chosen—but the five-minute duration.
Most athletes perform mobility work in 30-second to one-minute bursts. Research on static stretching suggests that longer duration holds (2-4 minutes) produce more significant and lasting changes in muscle length and joint range of motion compared to brief stretches.
A 2012 study published in the Scandinavian Journal of Medicine & Science in Sports found that stretch duration significantly influenced flexibility gains, with longer holds producing superior results.
The coach’s emphasis on daily consistency also aligns with evidence on neuromuscular adaptation. Sporadic stretching provides temporary range of motion improvements. Regular practice creates lasting changes in tissue extensibility and motor control patterns.
The Sitting Problem That Creates Mobility Crisis
Every drill in this protocol specifically counters positions created by excessive sitting.
Sitting shortens hip flexors, rounds thoracic spine, protracts shoulders forward, and allows ankles to remain in perpetual plantar flexion. These exact adaptations destroy squat depth, front rack positions, and overhead stability.
A 2018 review in the Journal of Sport and Health Science documented how prolonged sitting reduces hip extension range of motion and increases thoracic kyphosis—both major limiters for CrossFit movements.
The solution isn’t just “sit less”—though that helps—but deliberately spending time in opposite positions. Deep squats, chest-open shoulder positions, and overhead reaches provide the counterbalance modern life demands.
Building Your Own 30-Day Mobility Challenge
This protocol succeeds because of its simplicity and structure.
Five minutes is long enough to create adaptation but short enough that excuses evaporate. No equipment requirement removes barriers. Splitting the month into three 10-day blocks provides clear progression and prevents boredom.
Your 30-Day Implementation Plan
- Days 1-10: Five-minute deep squat hold daily
- Days 11-15: Twisted cross (2.5 minutes per side)
- Days 16-20: PVC rack stretch (2.5 minutes per side)
- Days 21-30: Wall hinge (five minutes)
Anchor the practice to an existing habit. After morning coffee, before evening training, during lunch breaks—consistency matters more than timing.
Track completion. A simple calendar with checkmarks creates accountability and reveals patterns when life disrupts routine.
Beyond the Basics: When Five Minutes Isn’t Enough
This protocol addresses common mobility limitations, but individual athletes may need additional work.
Ankle mobility restrictions might require specific calf and anterior tibialis work. Severe thoracic immobility may benefit from foam rolling or targeted extension exercises. Previous injuries often create asymmetries demanding specialized attention.
The five-minute daily practice establishes a foundation. Athletes with persistent limitations should seek coaching or physical therapy to identify specific restrictions.
But for most CrossFit athletes struggling with basic movement positions, this simple protocol addresses root causes rather than symptoms.
Sources
- Scandinavian Journal of Medicine & Science in Sports – https://onlinelibrary.wiley.com/doi/10.1111/j.1600-0838.2011.01400.x
- Journal of Sport and Health Science – https://www.sciencedirect.com/science/article/pii/S2095254617301072